
Sidekick Sport 2D JX 4WD L4-1.8L (1998)
operating temperature. The checking procedure itself is the same as that described previously. If the fluid level is between FULL COLD and LOW
COLD, proceed to test drive.
And when the fluid temperature has reached the normal operating temperature, check fluid level again and adjust it as necessary.
CHANGING FLUID
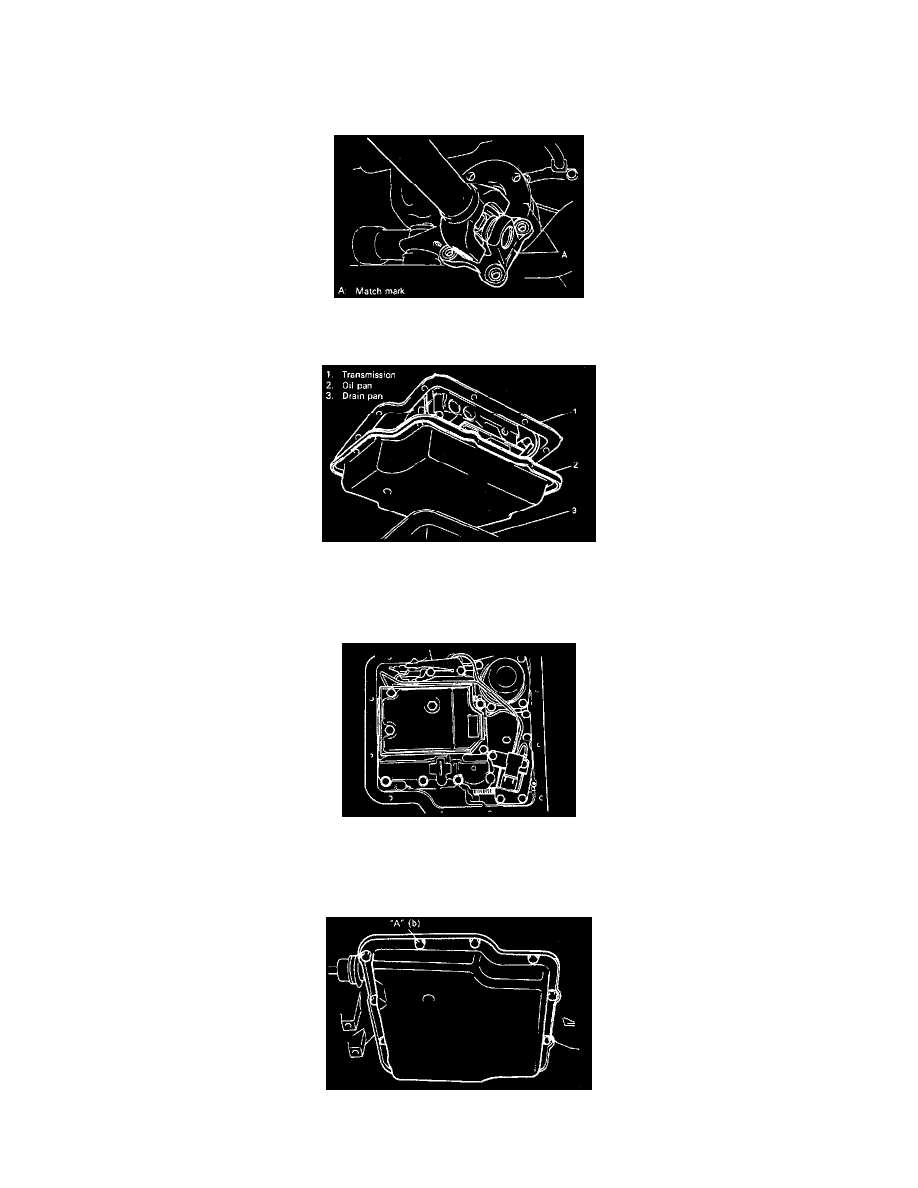
1. Lift up vehicle.
2. Remove universal joint flange of propeller shaft, lower shaft and pull it aside to the right.
3. Remove 9 bolts on the right, left and front sides of oil pan and loosen 3 bolts on the rear side.
4. With a large size drain pan placed under oil pan, open it carefully and drain fluid from its front side.
5. Hold oil pan horizontally, remove 3 bolts on its rear side and take it down. Also remove gasket.
6. After draining fluid from oil pan, clean pan with solvent and dry thoroughly with clean compressed air.
7. Check strainer screen and clean or replace together with gasket as required.
Tightening Torque
(a): 19 Nm (1.9 kg-m, 14 ft. lbs.)
8. Install oil pan with new gasket and torque bolts as specified. Bolts require thread lock cement super 1333B.