
Swift L4-1298cc 1.3L SOHC MFI (1997)
Expansion Valve: Service and Repair
Removal and Installation
EXPANSION VALVE
Removal
1) Disconnect negative (-) cable at battery.
2) Disable air bag system.
3) Recover refrigerant by using recovery and recycling equipment. Be sure to follow the instruction manual for the equipment. The amount of
compressor oil removed must be measured and the same amount added to the system.
4) Disconnect blower motor and resister wire couplers.
5) Disconnect fresh air control cable from blower motor unit.
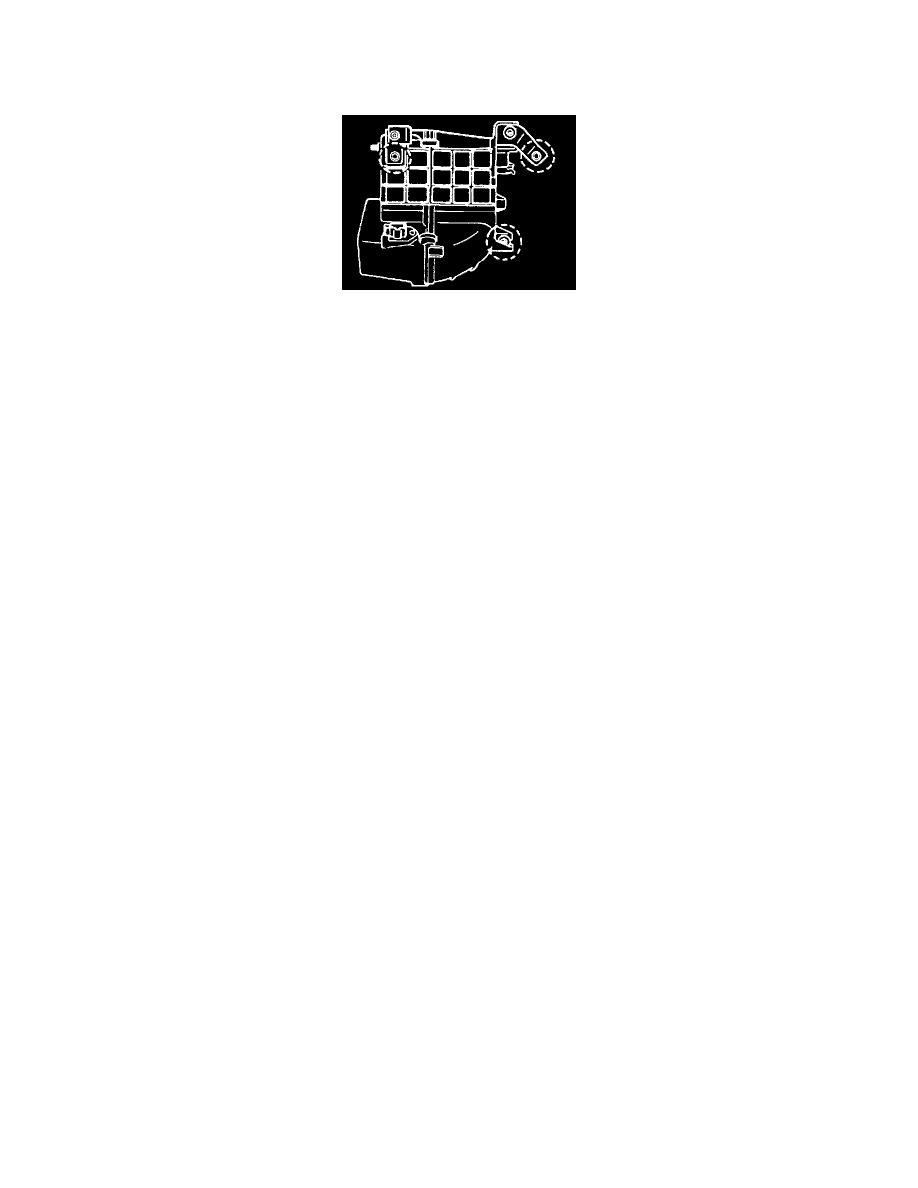
6) Remove blower motor unit after removing glove box and ECM.
7) Disconnect A/C amplifier and thermister wire couplers.
8) Disconnect compressor suction pipe,receiver/dryer outlet pipe and drain hose from evaporator (cooling unit).
NOTE: As soon as above hose and pipe are disconnected,cap opened fittings so that moisture and dust may not enter cooling unit.
9) Remove evaporator with evaporator case.
10) Remove A/C amplifier from lower case.
Installation
1) Reverse removal sequence to install expansion valve.
2) Enable air bag system.
3) Evacuate and charge system according to previously described procedure.