
XL-7 2WD V6-3.6L (2007)
WARNING: Failure to prep the area prior to the application of primer may cause insufficient bonding of urethane adhesive. Insufficient
bonding of urethane adhesive may allow unrestrained occupants to be ejected from the vehicle resulting in personal injury.
NOTE: Do not apply the black #3 primer to the existing bead of the urethane adhesive on the pinch-weld flange. Apply the primer only to nicks,
scratches or the primed surfaces.
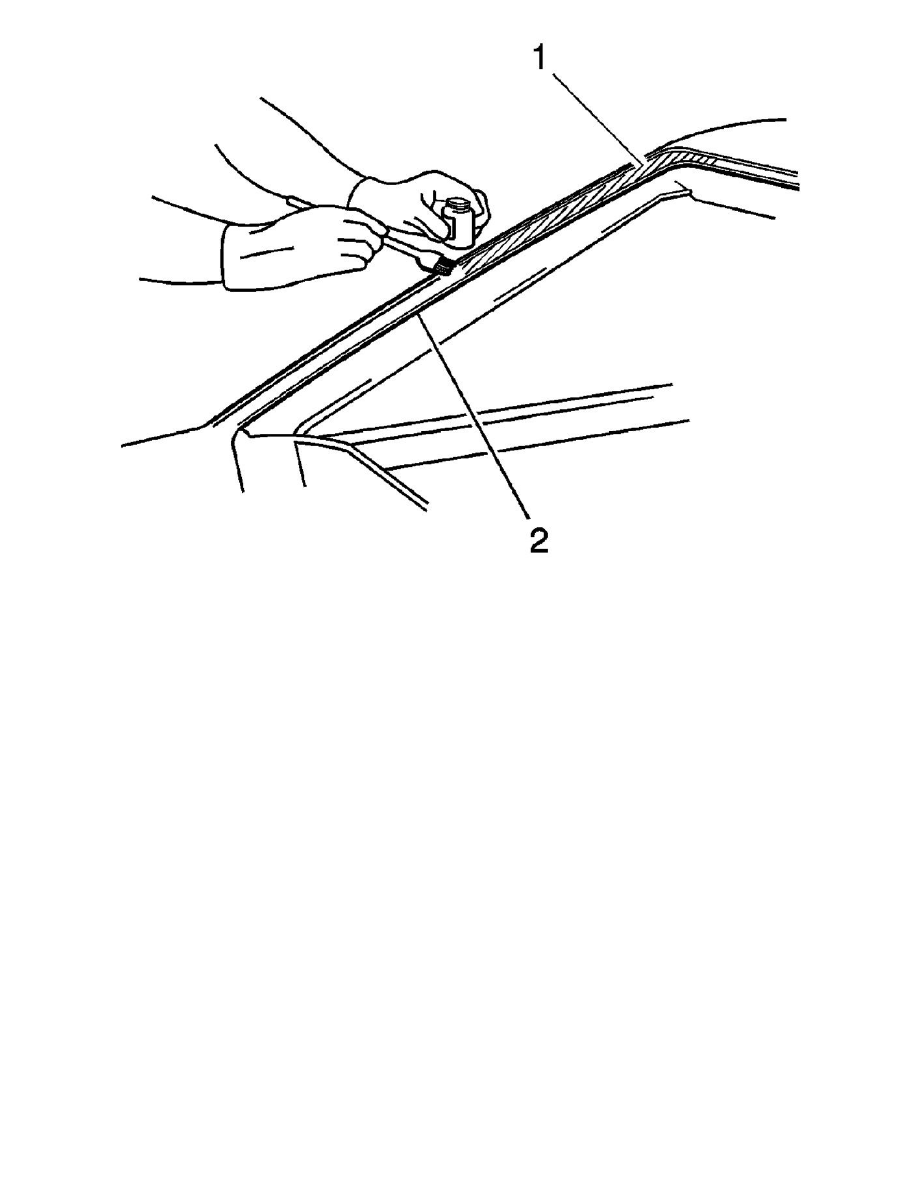
7. Shake the pinch-weld black #3 primer for at least 1 minute.
8. Use a new dauber in order to apply the primer to the surface of the pinch-weld flange.
9. Allow the pinch-weld primer to dry for approximately 10 minutes.
10. With the aid of an assistant dry fit the window to the opening in order to determine the correct position.
11. Ensure that the window locator pins are positioned into the locator slots on the upper liftgate sheet metal.
12. Center the glass side to side into the liftgate opening.
13. Use masking tape in order to mark the locations of the liftgate window in the opening.
14. Cut the masking in the center. Remove the liftgate window from the opening.