XL-7 2WD V6-3.6L (2007)

Engine Oil Pressure: Testing and Inspection
Oil Pressure Diagnosis and Testing
Special Tool
^
EN-47971 Oil Pressure Gage Adapter
^
J 21867 Pressure Gage
1. With the vehicle on a level surface, run the vehicle for a few minutes, allow adequate drain down time, 2-3 minutes, and measure the oil level.
2. If required, add the recommended grade engine oil and fill the crankcase until the oil level measures full on the oil level indicator.
3. Run the engine briefly, 10-15 seconds, and verify low or no oil pressure on the vehicle gage or light.
4. Listen for a noisy valve train or a knocking noise.
5. Inspect for the following conditions:
^
Oil diluted by water or glycol antifreeze
^
Foamy oil
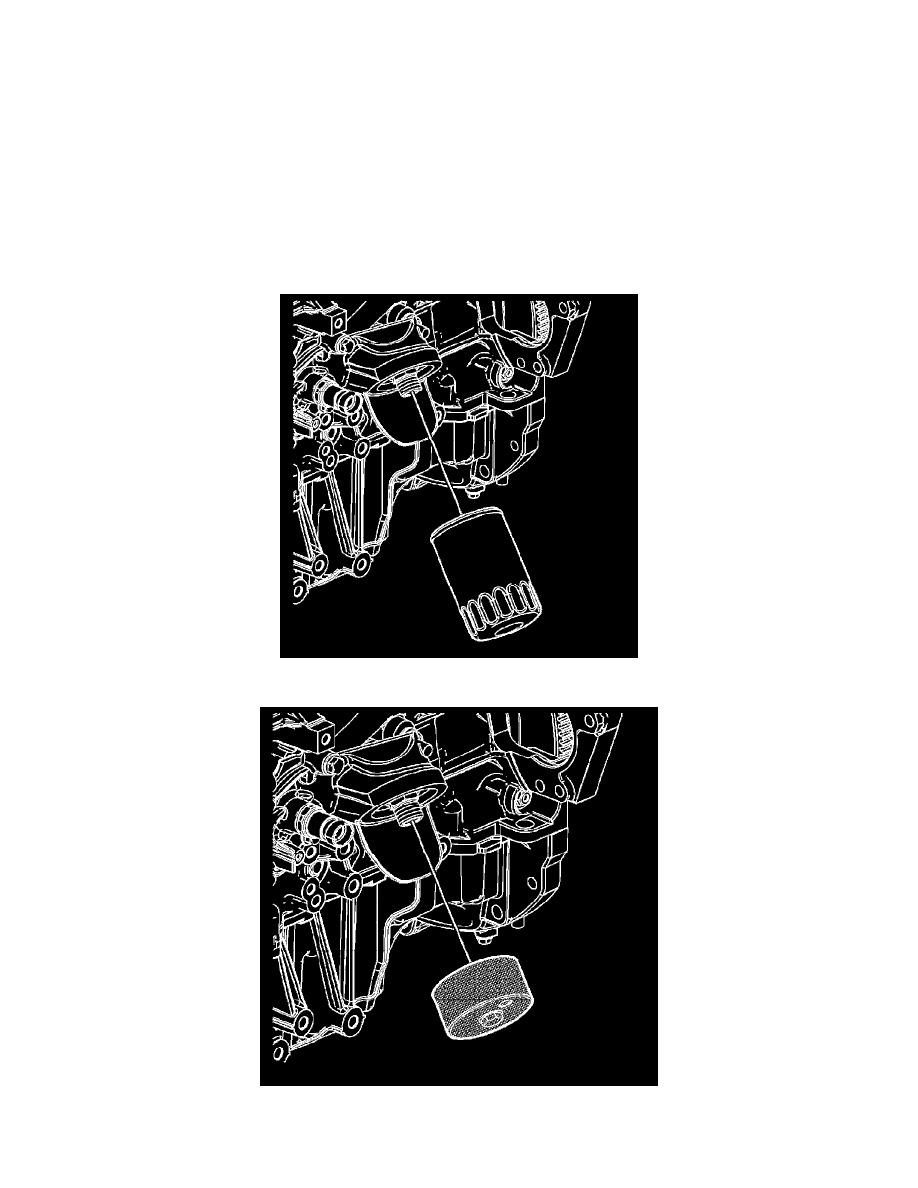
6. Remove the oil filter.
CAUTION: Special new tool EN 47971 must be used. Due to the special size and thread pitch of the oil filter adapter fitting ensure the
proper tool is used or component damage will result.
