
XL-7 2WD V6-3.6L (2007)
CAUTION: Refer to [Fastener Notice].
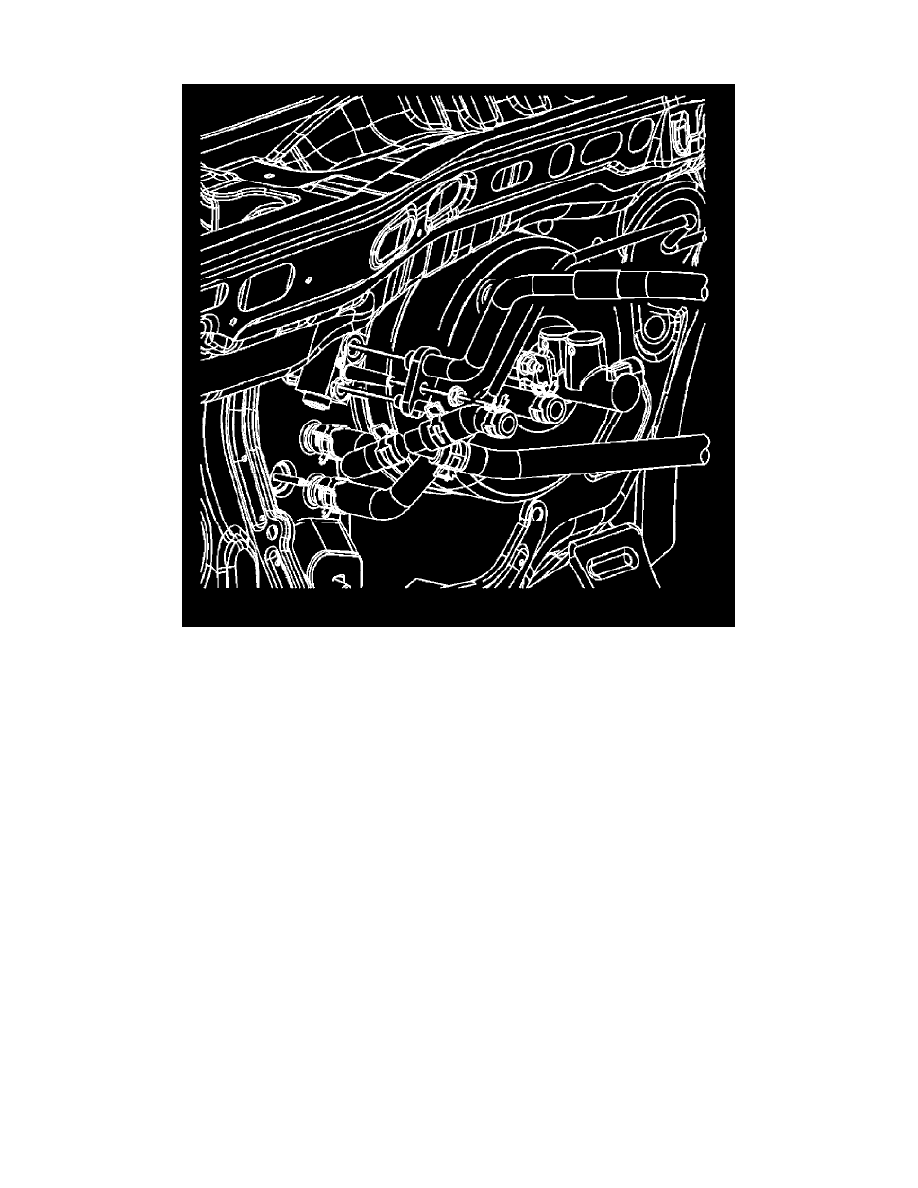
5. Install the TXV bolts to the backing plate.
Tightening torque
Tighten the bolts to 3.5 N.m (31 lb.in).
6. Remove the protective caps from the liquid line and the evaporator outlet hose.
7. Install new seal washers to the liquid line and the evaporator outlet hose. Refer to [Sealing Washer Replacement].
8. Install the liquid line and the evaporator outlet hose to the TXV.
9. Install the liquid line and evaporator outlet hose retainer plate nut to the TXV.
Tightening torque
Tighten the nut to 20 N.m (15 lb.ft).
10. Evacuate and charge the A/C system. Refer to [Refrigerant Recovery and Recharging].
11. Test the affected A/C joints for leaks using J 39400-A.