XL-7 2WD V6-3.6L (2007)

2. Remove the cap or tape from the A/C refrigerant components.
3. Using a lint-free clean, dry cloth, clean the sealing surfaces of the A/C refrigerant components.
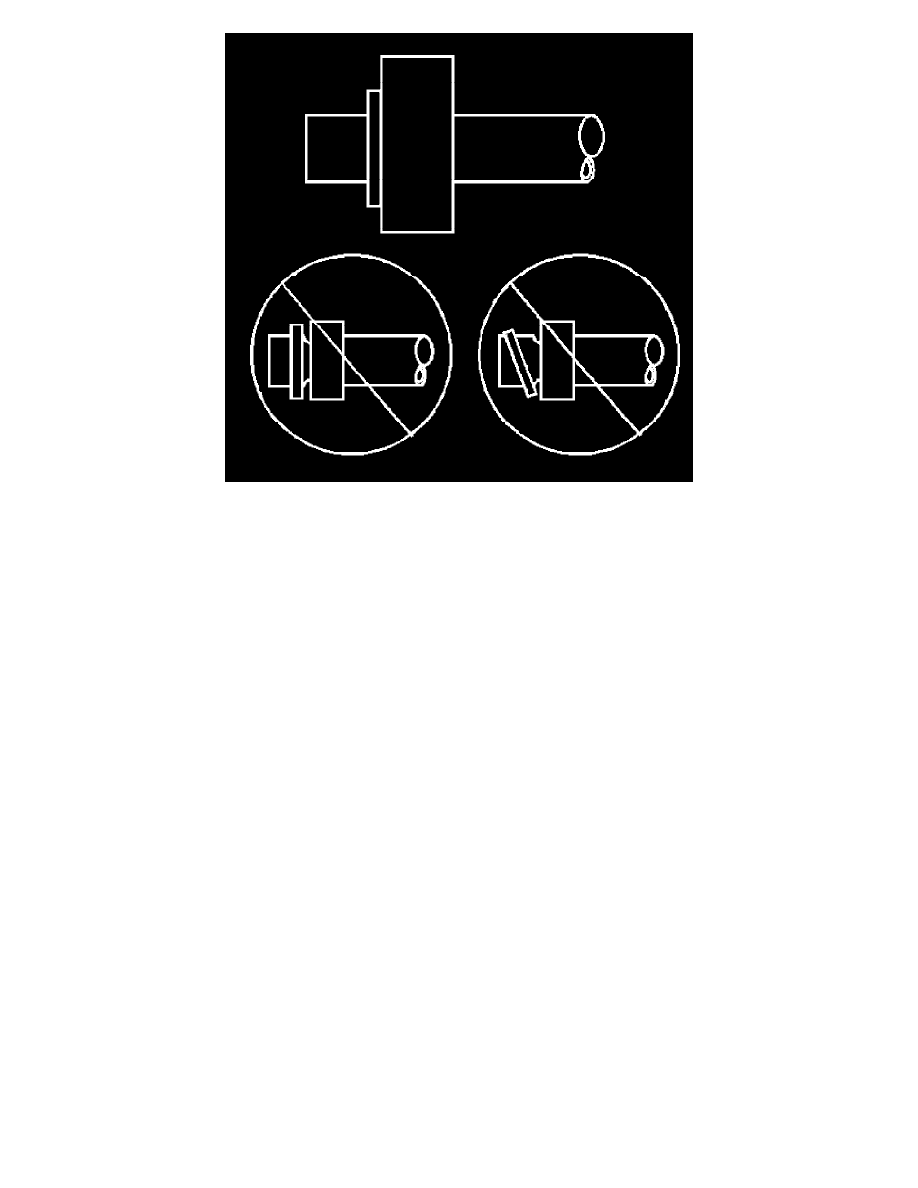
4. Carefully install the new seal washer onto the A/C refrigerant component. The washer must completely bottom against the surface of the fitting.
NOTE: After tightening the A/C components, there should be a slight sealing washer gap of approximately 1.2 mm (3/64 in) between the A/C
line and the A/C component.
5. Assemble the remaining A/C refrigerant components. Refer to the appropriate repair procedure.
O-Ring Replacement
O-Ring Replacement
