
XL-7 2WD V6-3.6L (2007)
^
NEVER repair tires worn to the tread indicators 1.59 mm (2/32 in) remaining depth.
^
NEVER repair tires with a tread puncture larger than 6.35 mm (1/4 in).
^
NEVER substitute an inner tube for a permissible or non-permissible repair.
^
NEVER perform an outside-in tire repair (plug only, on the wheel).
^
Every tire must be removed from the wheel for proper inspection and repair.
^
Regardless of the type of repair used, the repair must seal the inner liner and fill the injury.
^
Consult with repair material supplier/manufacturer for repair unit application procedures and repair tools/repair material recommendations.
Three basic steps for tire puncture repair:
1. Remove the tire from the wheel for inspection and repair.
2. Fill the injury (puncture) to keep moisture out.
3. Seal the inner liner with a repair unit to prevent air loss.
External Inspection
1. Prior to demounting, inspect the tire surface, the valve and the wheel for the source of the leak by using a water and soap solution. Mark the
injured area and totally deflate the tire by removing the valve core.
2. Demount the tire from the wheel and place the tire on a well-lighted spreader.
Internal Inspection
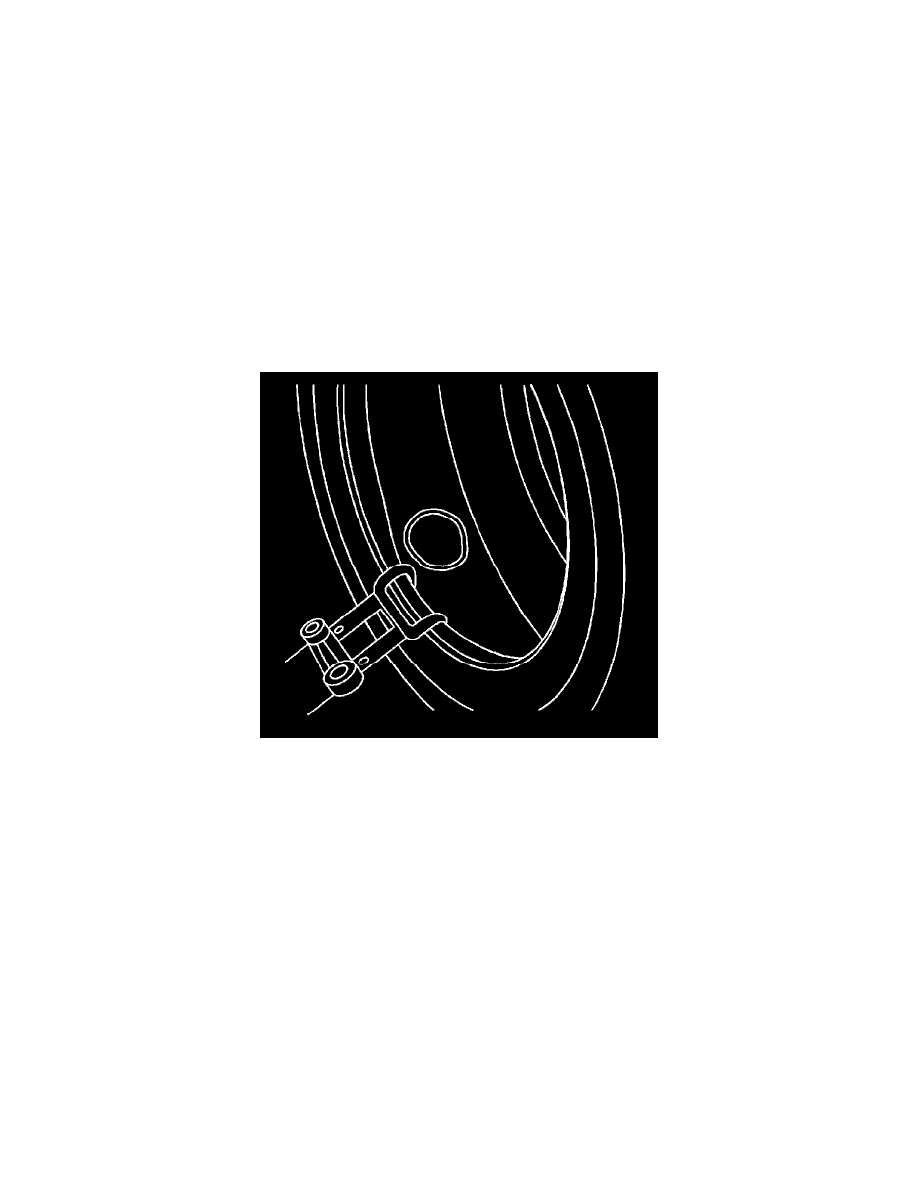
1. Spread the beads and mark the puncture with a tire crayon.
2. Inspect the inner tire for any signs of internal damage.
3. Remove the puncturing object, noting the direction of the penetration.
4. Probe the injury with a blunt awl in order to determine the extent and direction of the injury.
5. Remove any loose foreign material from the injury.
6. Punctures exceeding 6.35 mm (1/4 in) should not be repaired.
Cleaning