XL-7 Touring 4WD V6-2.7L (2002)

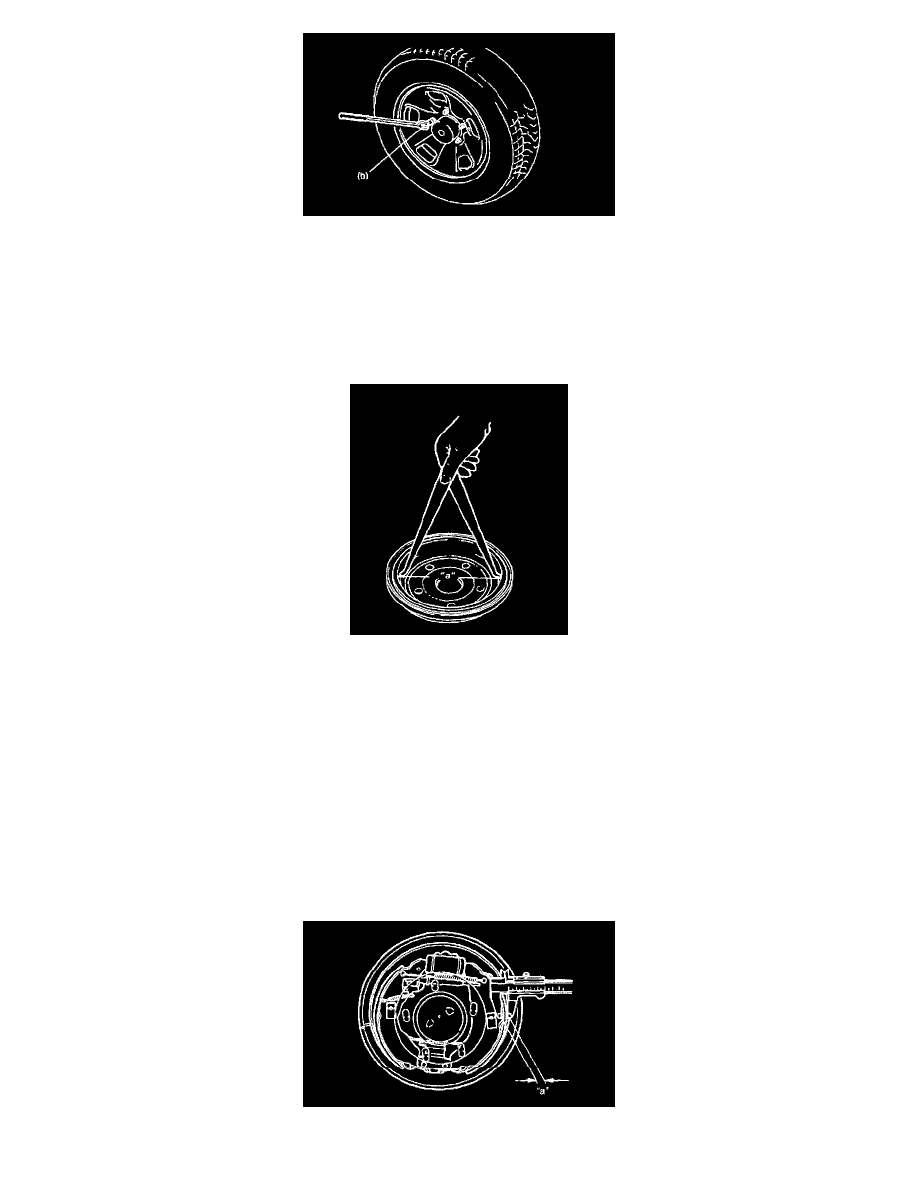
5. Install wheel and tighten wheel nuts to specified torque.
Tightening torque
Wheel nut (b): 100 Nm (10.0 kgf-m, 72.5 ft. lbs.)
6. Check to ensure that brake drum is free from dragging and proper braking is obtained. Then remove vehicle from hoist and perform brake test
(foot brake and parking brake).
Inspection
Brake Drum
Inspect drum for cleanliness. Check wear of its braking surface by measuring its inside diameter.
Whenever brake drums are removed, they should be thoroughly cleaned and inspected for cracks, scores, deep grooves.
Brake dram inside diameter "a"
Standard: 254 mm (8.66 inch)
Service Limit: 256 mm (8.74 inch)
Cracked, Scored, or Grooved Drum
A cracked, drum is unsafe for further service and must be replaced. Do not attempt to weld a cracked drum.
Smooth up any slight scores. Heavy or extensive scoring will cause excessive brake lining wear and it will probably be necessary to resurface drum
braking surface.
If brake linings are slightly worn and drum is grooved, drum should be polished with fine emery cloth but should not be turned.
NOTE: When drum is removed, visually inspect wheel cylinder for brake fluid leakage. Correct leaky point, if any.
Brake shoe
Where lining is worn out beyond service limit, replace shoe.
