|
Replacing vehicle identification plate
Note: Depending on
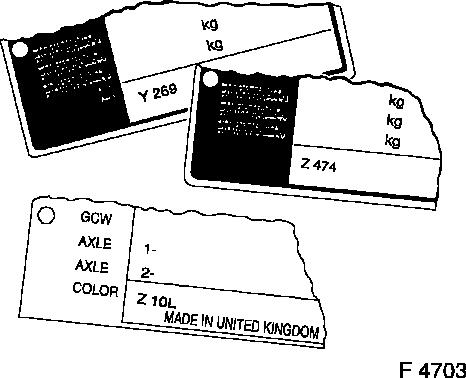
production, the exterior vehicle colour is indicated with either a
3-digit colour number or a 2-digit colour code plus "L".
The procedure for replacing the vehicle identification plate
should be confirmed with the Customer Information Centre.
|
For 3-digit codes:
|
|
Letter "Y"
|
=
|
Single-coat enamel
|
|
Letter "Z"
|
=
|
Double-coat enamel
|
|
3-digit no.
|
=
|
Colour number
|
|
Example: 474 = Synthetic resin enamel in Casablanca White
|
|

|
|
2-digit no. with letter = colour code
|
|
Example: 10L = Casablanca White
|
As previously, vehicles are painted using standard paint systems
as described in the current BROCHURE "Paintwork repair" KTA-2207-3
Edition 08-2003.
|
For bonded plate:
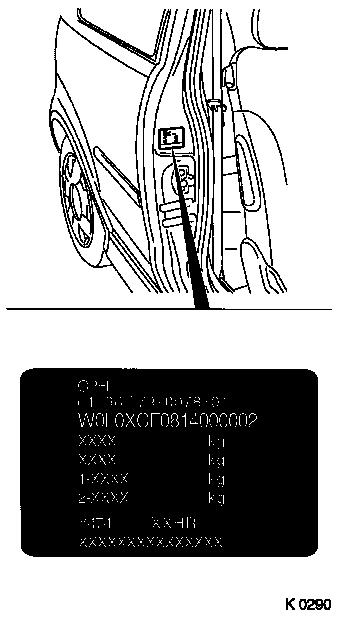
Heat the vehicle identification plate with a hot air gun and
pull off. Remove adhesive residue (silicon remover or washing
benzene).
For riveted plate:
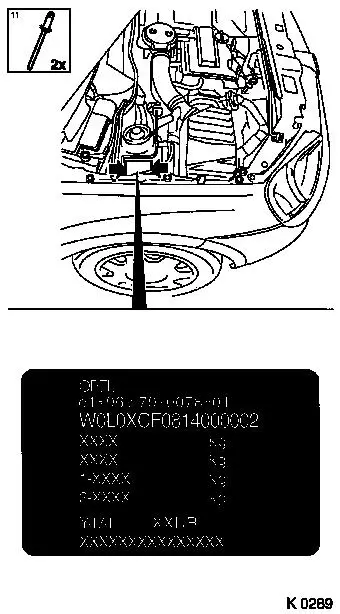
Drill out 2 rivets.
 Install
For bonded plate:
The subsurface must by dry and free from dust and grease.
Position the vehicle identification plate and press it into
place, ensuring there are no bubbles.
Attention!
The adhesive foil is only to be handled at temperatures above 18
°C.
|

|
|
For riveted plate:
Position the vehicle identification plate and rivet it into
place (arrows).
|

|
|


