|
Standard Corrosion Protection Measures
General
In recent years, the subject of corrosion protection has been
forcefully pushed into the foreground as a result of increasingly
corrosive environmental pollution.
The customer expects that his vehicle is provided in series
production with high-grade corrosion protection with a long-term
protective action.
For these reasons, improvements are
continually being introduced into production:
- Increased use of sheet metal galvanised on both sides.
- Additional PVC sill protection for vehicles without panelling
in the area of the sill.
- Cavity protection wax in the entire underbody area.
- Cavity protection wax for all frame side members and
crossmembers.
In this section, the typical corrosion protection steps in
series production will be explained using a flowchart and
subsequent description of the individual steps.
The details of the individual steps may differ depending on
production plant.
The treatment of the engine compartment with protective wax is
no longer required.
Note: All of the
measures for corrosion protection discussed in the operations can
be understood with reference to the descriptions in this
section.
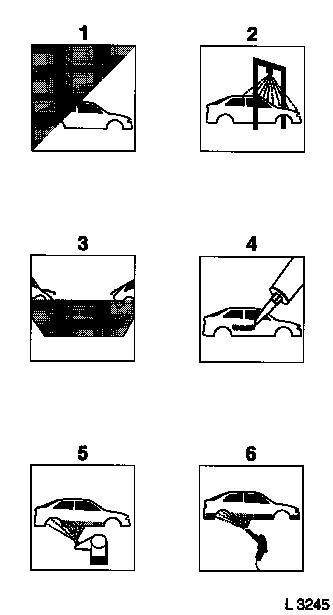
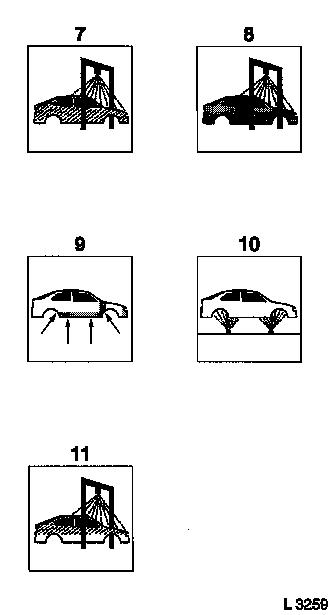
Flowchart for Corrosion Protection Steps
|
Step
|
Designation
|
|
1
|
Body shell
|
|
2
|
Spray dip phosphatisation
|
|
3
|
Cataphoretic dip priming
|
|
4
|
Seam seal
|
|
5
|
PVC underseal
|
|
6
|
PVC sill protection
|
|
|
|
Step
|
Designation
|
|
7
|
Primer
|
|
8
|
Top coat
|
|
9
|
Cavity protection wax
|
|
10
|
Underbody protection wax
|
|
11
|
Transit protective wax
|
|
|
|
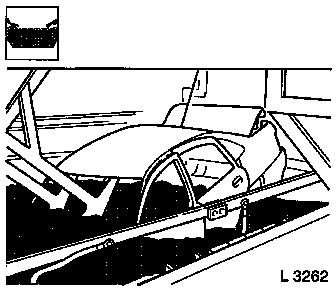
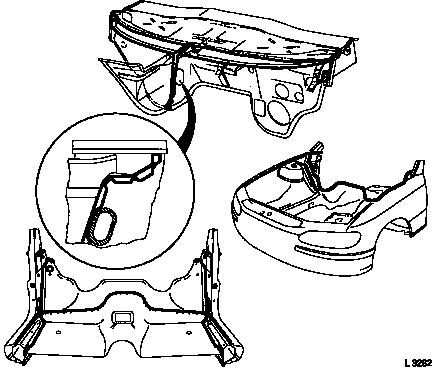
Body shell
Effective measures to prevent corrosion
start as early as the structural design of the body shell such as,
e.g.:
- Development of water-deflecting and dirt-deflecting body
shapes
- Deliberate selection of material at areas at risk of corrosion
due to galvanised metal sheets
- Optimum shaping and joining methods for body sheet-metal
parts
- Production of well-ventilated cavities
- Introduction of water drain holes
Example:
The good drainage of dirt and water is assisted by water drain
holes in door shells.
|
|
|
Spray / Dip Phosphatisation
Spray / dip phosphatisation with cleaning and rinsing operations
before and afterwards is the base of the paint structure.
The following sequence applies:
- Clean and degrease
- Spray / Dip Phosphatisation
- Rinse
- Blow with warm air
Spray / dip phosphatisation takes place by treating with a
phosphatising solution.
This causes a crystal layer to form which neutralises points of
different potential.
|
|
|
Cataphoretic Dip Priming (CDP)
CDP is the next corrosion protection step in series
production.
The following sequence applies:
- Cataphoretic dip priming
- Rinse
- Dry at approx. 180 °C / 25 minutes
The body (cathode) passes through a dip tank with water-soluble
paint (anode).
The positively charged paint particles displace to the body
under the effect of the electrical voltage and form a layer of
paint.
The thickness of the layer is determined by the amount of
electricity, the length of coating and the temperature of the paint
bath.
|
|
|
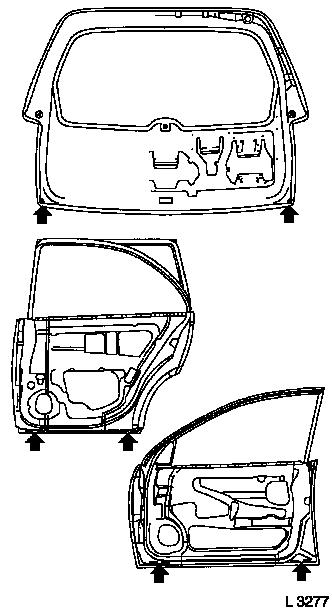
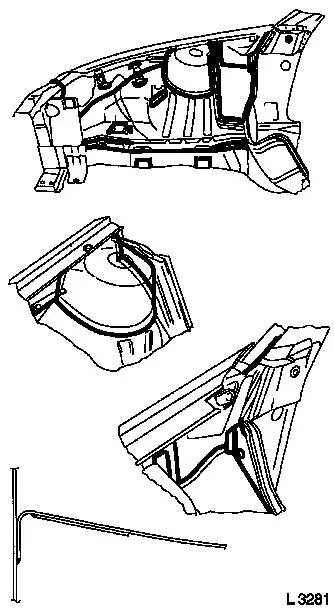
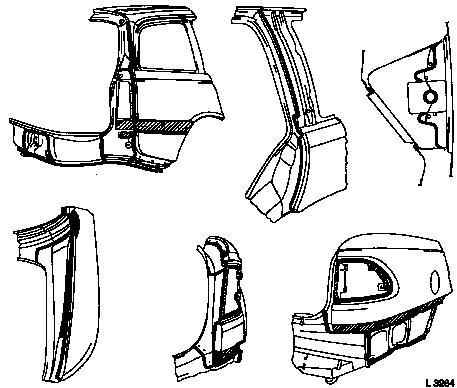
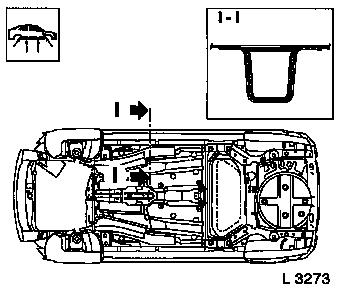
Seam seal
Heat-curing and solvent-free seam seals are applied to flanged
seams and folds and smoothed.
Included in this are flanges, welding
flanges and open seams in the following areas of the body
shell:
- Vehicle front section, wheel housing
- Vehicle front section, lower A-pillar
- Vehicle rear section, bottom pan
- Vehicle rear section, rear quarter panel
- Vehicle rear section, wheel housing
- Lower A-pillar, sill trim, bulkhead
|
|
|
II Vehicle front section
Lower A-pillar
|
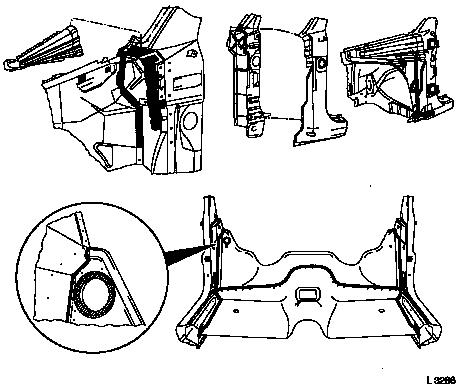
|
|
III Vehicle rear section
Bottom pan
|
|
|
IV Vehicle rear section
Rear quarter panel
|
|
|
V Vehicle rear section
Wheel well
|
|
|
VI Lower A-pillar
Sill trim, bulkhead
|
|
|
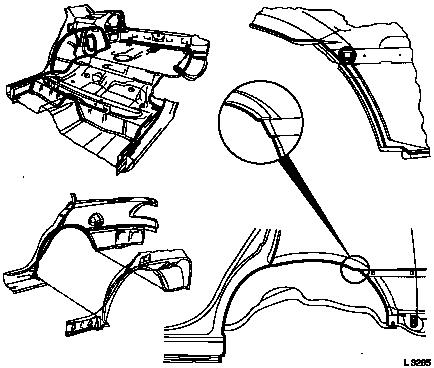
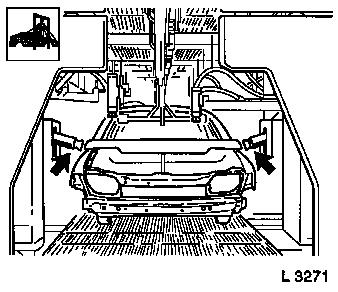
PVC underseal
PVC underseal is applied after CDP.
The areas of the vehicle underbody at risk of stone impacts are
coated in a targeted manner with PVC underseal.
This produces long-term protection against mechanical stress,
such as stone impact and corrosion.
To a greater extent, PVC underseal is applied fully
automatically using robots.
The remaining surfaces and flanges are sealed manually with PVC
or a combination material.
The final curing is achieved by drying the primer.
|
|
|
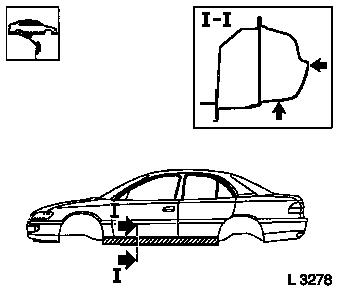
PVC sill protection
PVC sill protection cures on heating, is solvent-free and is
sprayed in a complex automatic spraying operation to give "visible
edges".
With regard to corrosion protection,
PVC sill protection has the following advantages:
- Adhesive
- Wear resistant
- Temperature resistant
- Water resistant
- Highly elastic
A straight, clean and seamless visible edge (section I –
I) is achieved in the spraying operation using a special
application procedure
|
|
|
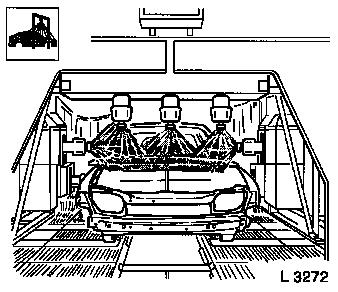
Primer
The water-soluble primer is applied with an electrostatic rotary
atomiser unit.
The following sequence applies:
- Clean
- Coat with primer
- Dry at approx. 160 °C / approx. 35 minutes
Advantages of primer:
- Application with rotary atomiser, therefore application almost
without loss.
- High surface quality.
- Optimum Adhesion to CDP and PVC
- Optimum metal primer for top coat.
- Damping layer between CDP and top coat.
|
|
|
Top coat
The top coat forms the final layer of the paint structure due to
its blocking action towards the diffusion of water and oxygen.
The following sequence applies:
- Clean
- Apply top coat
- Dry at approx. 130 °C / approx. 30 minutes
Two different top coat systems may be used:
- 1-layer coat based on synthetic resin
- 2-layer coat with metallic or mica effect base coat and clear
coat
The top coats in the body outer area are sprayed on in
electrostatic rotary atomiser units.
The interior of the body is painted manually.
Plastic parts are provided with a special paint structure in
separate processes prior to assembly.
|
|
|
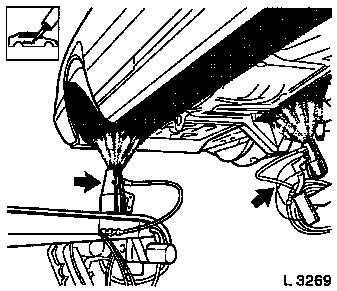
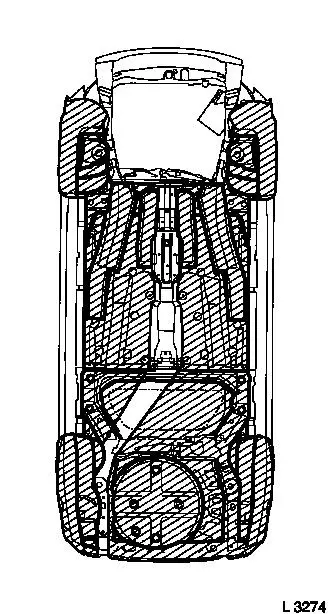
Cavity protection wax
After painting is finished, the following cavities are given a
protective wax protection:
- Sill panelling
- Bonnet.
- Front and rear door
- Wing.
- Luggage compartment lid and tailgate
- Wheel well
- Side member, crossmember
Advantages of cavity wax:
- High creep capability
- High non-volatile matter content
- Low solvent content
- Environmental compatibility
- Long-term protective action
- Once dried, forms a strong, sealed wax layer
|
|
|
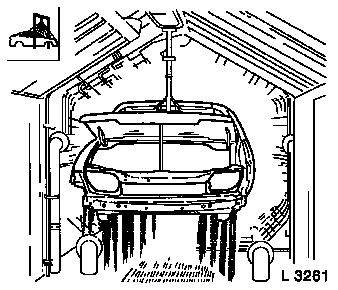
Underbody protection wax
In the further production sequence, all vehicles are given an
underbody protection wax to the vehicle underbody.
The entire vehicle underbody and its body attaching parts are
coated, such as, e.g.:
- Fuel tank
- Wheel wells with coil springs and shock absorbers
- Axle body
Catalytic converters and parts in the exhaust area are not
coated.
Advantages of underbody protection wax:
- High non-volatile matter content
- Low solvent content
- Environmental compatibility
- Optimum adhesion
- Once dried, forms a smooth clean wax layer
- Insulation and moisture barrier due to water-deflecting
property.
Underbody protection wax is applied in an automatic spraying
operation.
|
|
|
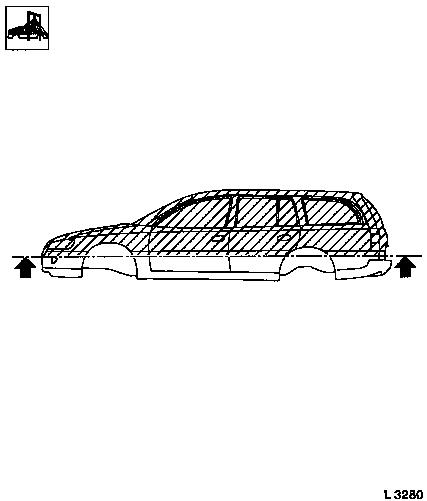
Bearing and Transit Protective Wax
The final application of bearing and transit protective wax
prevents corrosion damage caused by...
- Dust, dirt during transport
- Environmental pollution such as, e.g. soot
- Corrosive substances, such as bird droppings, insects or tree
resins
All vehicles are given bearing and transit protective wax in the
following areas:
- Roof
- Bonnet.
- Tailgate
- Wing.
- Doors
- Rear quarter panels
Paint-damaging particles only settle on the surfaces accessible
from above.
Therefore, enclosed, vertical surfaces (front, side, rear) are
not included in the wax coating.
|
|
|
