volkswagen Workshop Repair Guides

Volkswagen Workshop Service and Repair Manuals

Removing and installing rear flexible coupling > < Removing and installing propshaft
Removing and installing front flexible coupling
Special tools and workshop equipment required
   
t  Torque wrench -V.A.G 1331-
  W00-0427
t  
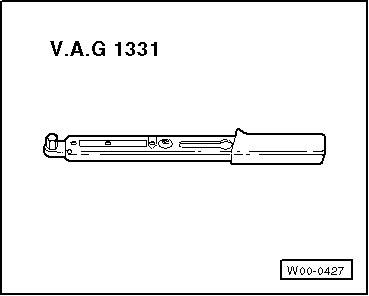
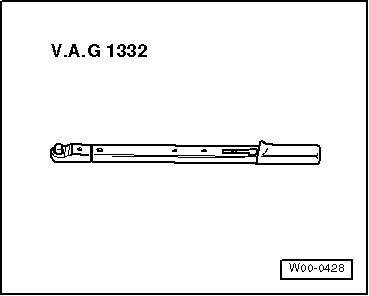
Torque wrench -V.A.G 1332-
Additional required information
t  Workshop Manual Golf 1998 ►, Bora 1999 ► Engine, mechanics
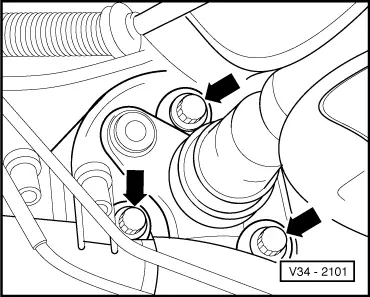
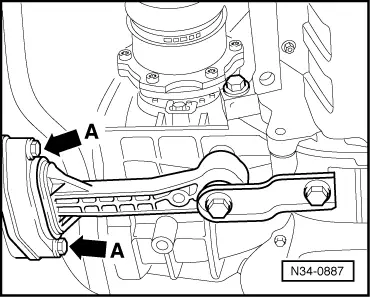
A twin pillar lifting platform should be used when working on the propshaft.
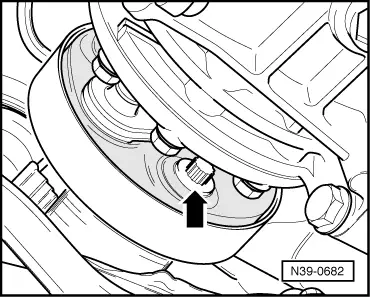
  Note
t  
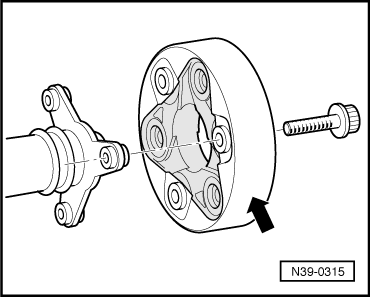
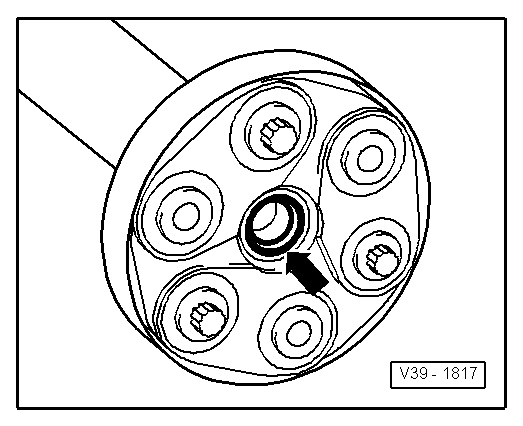
Before removing, mark positions of all parts relative to each other. Reinstall in the same position otherwise imbalance will be excessive, the mountings could be damaged causing rumbling noises.
t  Do not flex propshaft.
Removing
  W00-0428
–  Unbolt flexible coupling with heat shield from front propshaft (only one of the three bolts is visible here -arrow-).
  N39-0682
–  Unbolt flexible coupling from bevel box flange -arrows-.
–  Separate exhaust system behind front pipe → Rep. Gr.26.
  V34-2101
–  Remove pendulum support from subframe -arrows A-.
–  Carefully press engine and gearbox forwards.
–  Now carefully remove flexible coupling.
Installing
Install in the reverse order of removal, observing the following:
  N34-0887
Installation position of front flexible coupling
t  Heat shield -arrow- faces intermediate bearing.
t  Three projecting sleeves each on gearbox flange and propshaft flange engage in mounting holes of flexible coupling.
  Note
  N39-0315
t  When removing and installing, do not damage seals in propshaft flanges.
t  Renew propshaft if damaged.
t  Ensure that propshaft is horizontal when pushed onto respective guide pin.
Torque settings → Anchor
  V39-1817

Removing and installing rear flexible coupling > < Removing and installing propshaft