| Sealing quantity adjuster |
| Special tools and workshop equipment required |
| t
| Torque wrench -V.A.G 1331- |
| t
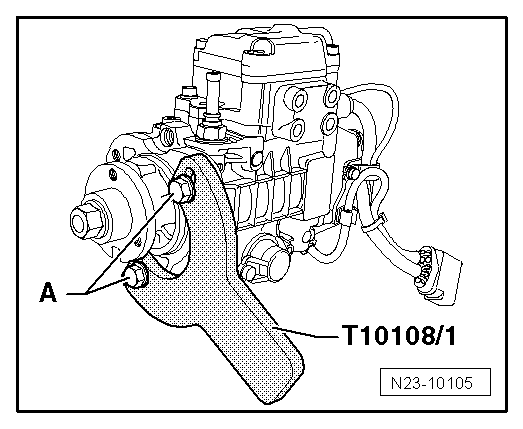
| Additional bracket -T10108/1- |
| t
| Vehicle diagnosis, testing and information system -VAS 5051- |
| –
| Set the injection quantity of the injection pump as follows: |
| Mechanical basic setting of engine OK. |
| Coolant temperature must be at least 80 °C. |
| –
| Connect vehicle diagnosis, testing and information system -VAS 5051- → Chapter. When doing this, the engine must be running at idling speed. |
| –
| Select operating mode “Self-diagnosis”. |
| –
| Press “Engine electronics” button on display. |
| –
| Press “Read measured value block” button on display. |
| –
| Select “1.-.Display group 1” on the keyboard. |
| –
| Observe the value see from the top at the second position. (equates to 2.2...9 mg/stroke). |
| –
| Make a note of the injection quantity. |
| –
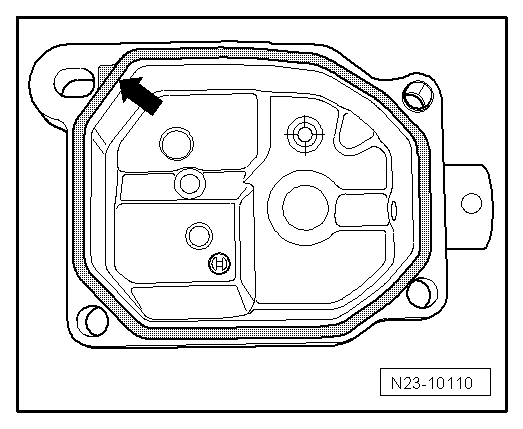
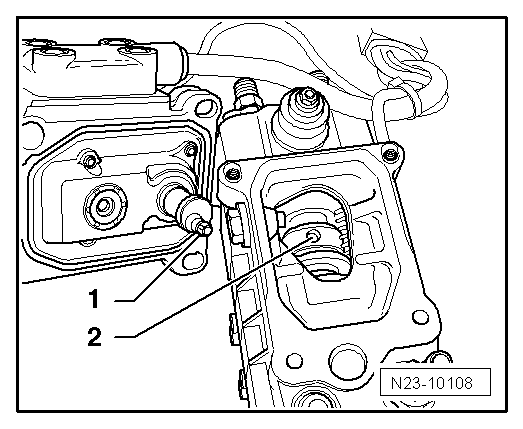
| Remove return connection → Item and drain the injection pump by holding it with the return hole down. Catch escaping fuel. |
| –
| Remove the additional bracket -T10108/1- on the injection pump flange and tight the bolts -A- to 20 Nm. |
|
|
|
 Note
Note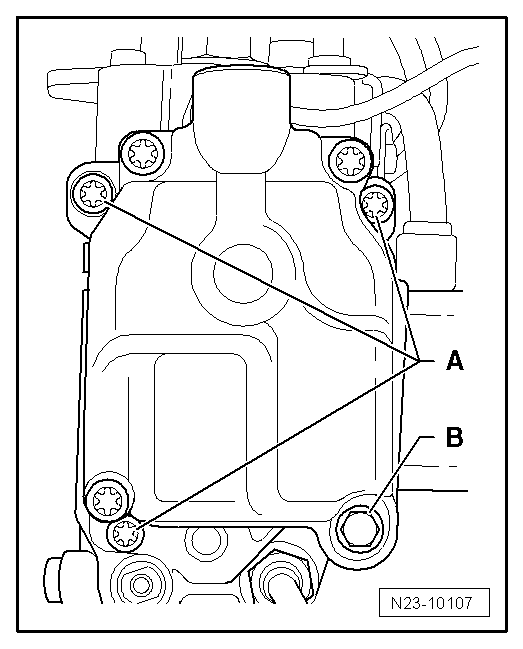
 Caution