volkswagen Workshop Repair Guides

Volkswagen Workshop Service and Repair Manuals

Notes on installing air conditioner compressor > < Removing and installing evaporator
Removing and installing condenser
Special tools and workshop equipment required
   
t  Torque wrench -V.A.G 1331/- (5…50 Nm)
  W00-0427
t  
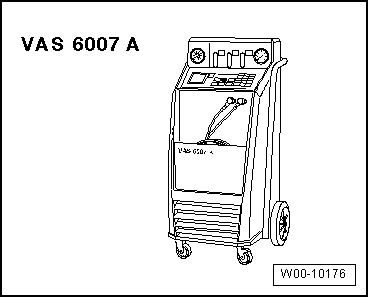
Air conditioner service station -VAS 6007A- or later model.
  Note
t  The refrigerant must be extracted beforehand, e.g. with air conditioner service station -VAS 6007A-.
t  The previously used air conditioner service stations can still be used ⇒ Volkswagen Workshop Equipment catalogue.
t  To prevent the intrusion of moisture, all components of the refrigerant circuit which have been opened must be sealed with suitable plugs.
First carry out the following work:
–  Switch off all electrical consumers.
–  Switch off ignition.
–  Remove ignition key.
–  Extract refrigerant, e.g. with air conditioner service station -VAS 6007A-.
  Note
Releasing refrigerant into the environment is a punishable offence.
–  Remove front bumper → General body repairs, exterior; Rep. gr.63.
–  Remove lock carrier → General body repairs, exterior; Rep. gr.50.
–  Separate connectors.
  WARNING
Danger of freezing injuries.
If refrigerant circuit has not been evacuated, refrigerant will escape.
Extract refrigerant before opening refrigerant circuit. If the refrigerant circuit is not opened within 10 minutes after it has been evacuated, pressure may develop in coolant circuit due to re-evaporation. Extract refrigerant again.
  W00-10176
–  Loosen bolts -1- and -3- (12 ± 1.8 Nm).
  Note
Illustration shows 1.6l engine with 75 KW. Changes in the refrigerant line layout may occur depending on the specific vehicle.
–  Remove and seal refrigerant lines -2- and -4-.
  N87-10843
1 - Protective screen
q   Only on vehicles with heavy-duty equipment.
q   Only in vehicles with condensers from manufacturer „Showa“.
q   Position protective screen on 3rd rib from the bottom -arrow-
2 - Fastener
q   Qty. 8
3 - Condenser
q   Secured with 4 bolts to radiator
4 - Sealing strip
q   Glue top sealing strip to 6th fin row from top of condenser before installing
q   Glue bottom sealing strip to 1st fin row from bottom of condenser before installing
q   Glue side sealing strips to outer edge of condenser before installing
5 - Spacer
  Note
Spacer is installed only in vehicles with petrol engines.
6 - Bolt
q   5 ± 0.5 Nm.
7 - Radiator
8 - Bolts
q   Qty. 4
q   5 ± 0.5 Nm.
  Note
On vehicles with a petrol engine, secure bolt -6- first before securing bolts -8-
9 - Receiver with dryer
Under certain conditions, it is not necessary to renew the receiver with dryer every time that the refrigerant circuit is opened. Refer to ELSA under Heating, ventilation, air conditioning system; Air conditioning system with refrigerant R134a → Rep. gr.00; Technical data; Renewing components.
q   Removing and installing → Chapter


Notes on installing air conditioner compressor > < Removing and installing evaporator