Note | Do not cant ceramic glow plugs when removing and installing. Remove any components hindering assembly. |
| –
| Pull connectors off ceramic glow plugs. |
| –
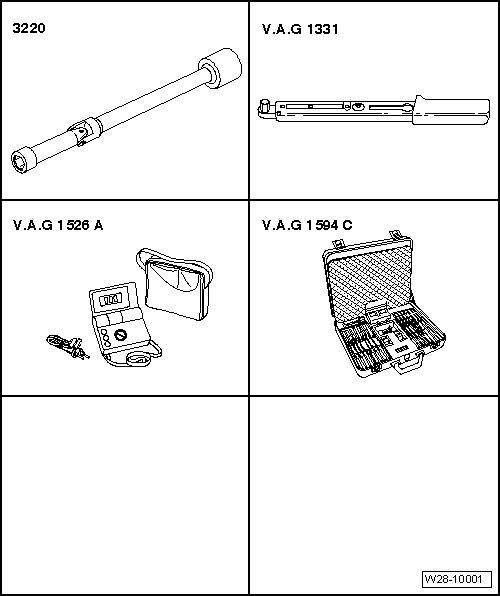
| Remove ceramic glow plugs using U/J extension and socket, 10 mm -3220-. |
| Installation is carried out in the reverse order. When installing, note the following: |
| –
| Before installing the drilling in cylinder head and the threads must completely cleaned of all deposits. |
Note | Do not oil or grease thread of cylinder head bore or of ceramic glow plugs. |
| –
| Screw ceramic glow plugs into cylinder head by hand using U/J extension and socket, 10 mm -3220-. |
| –
| Then tighten the ceramic glow plugs. Specified torque: 15 Nm. |

WARNING | t
| After installing and before the engine is started, perform a resistance test on all ceramic glow plugs when engine is cold. |
| t
| If the defective ceramic glow plug is broken, remove all fragments from the engine, otherwise these can cause damage to the engine. |
|
| t
| Specification: max. 1 Ω |
| –
| If the specification is exceeded, renew the defective ceramic glow plug. |
|
|
|