volkswagen Workshop Repair Guides

Volkswagen Workshop Service and Repair Manuals

Checking cooling system for leaks > < Removing and installing coolant pump
Removing and installing thermostat
   
Removing and installing thermostat
Special tools and workshop equipment required
t  Jointed wrench 10 mm -3185-
t  Hexagon key extension, 5 mm -3249-
t  Refractometer -T10007-
t  Torque wrench (5…50 Nm) -V.A.G 1331-
t  Spring-type clip pliers -VAS 5024/A-
t  Drip tray for V.A.G 1202 -V.A.G 1306/- or drip tray for workshop crane -VAS 6208-

Removing
  Note
Always renew seals and gaskets.
–  Drain coolant → Chapter.
–  Remove alternator → Rep. gr.27
–  Pull connector off radiator outlet coolant temperature sender -G83-.
–  Pull coolant hose off connection.
   
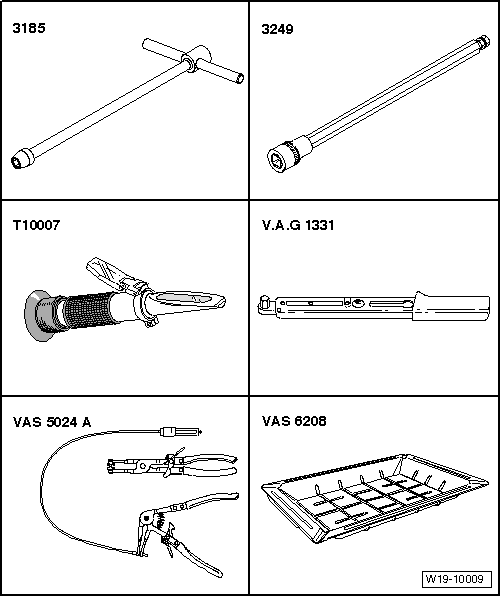
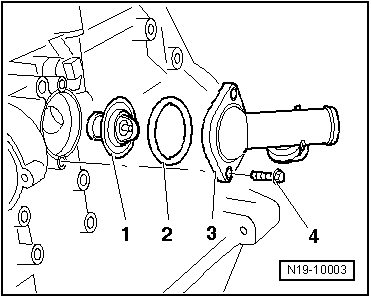
–  Loosen securing bolts -4- of union -3- using T-bar and socket, 10 mm -3185- and remove using hexagon key extension, 5 mm -3249- and remove union -3- with thermostat -1-.
–  Turn thermostat -1-1/4 turn (90 °) to left and remove from connection -3-.
Installing
Installation is carried out in the reverse order. When installing, note the following:
–  Moisten new O-ring -2- with coolant.
–  Insert thermostat -1- in union -3- and turn 1/4 turn (90 °) to right.
  Note
The brace on the thermostat must be almost vertical.
–  Fit union -3- with thermostat -1- into cylinder block.
  N19-10003
–  Tighten securing bolts -4- using T-bar and socket, 10 mm -3185-. Specified torque: 15 Nm.
–  Replenish coolant → Chapter.
  N19-10003

Checking cooling system for leaks > < Removing and installing coolant pump