volkswagen Workshop Repair Guides

Volkswagen Workshop Service and Repair Manuals

Removing and installing suction-jet pump > < Removing and installing fuel delivery unit
Removing and installing fuel gauge sender 2G169
Removing and installing fuel gauge sender 2 -G169-
l  Fuel tank must not be more than 1/2 full.
  Note
t  Ensure that the fuel gauge sender is not bent.
t  If necessary, empty fuel tank using fuel extractor -VAS 5190- → Chapter.
t  Note safety precautions before beginning work → Chapter.
t  Observe rules for cleanliness → Chapter.
Removing:
–  Remove bench seat → General body repairs, interior; Rep. gr.72.
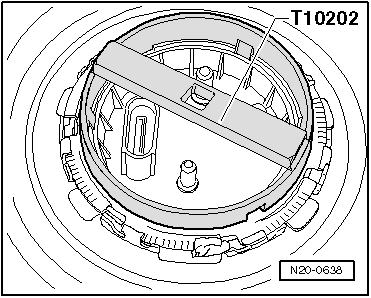
–  Remove left cover (as seen facing direction of normal travel) from fuel gauge sender 2 -G169-.
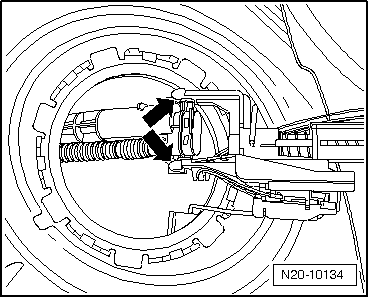
–  Disconnect electrical connectors.
   
–  Open locking ring using wrench -T10202-.
  N20-0638
–  Pull fuel gauge sender 2 -G169- upwards slightly and unclip it from the suction-jet pump.
Installing:
  Caution
When installing do not bend fuel gauge sender 2 -G169- float arm.
–  Place fuel gauge sender 2 -G169- in fuel tank.
  N20-10134
–  Fit suction-jet pump on sender on inside of fuel tank. Locating lugs must engage.
–  Place a new flange seal dry into aperture in fuel tank and moisten only inside (contact to flange) with fuel.
–  Note installation position of fuel gauge sender 2 -G169- → Fig..
–  Check for correct position of seal.
  N20-10134
–  Tighten locking ring using wrench -T10202-. Specified torque: 110 Nm.
–  Fit connectors.
–  Install cover.
–  Install bench seat → General body repairs, interior; Rep. gr.72.
  N20-0638

Removing and installing suction-jet pump > < Removing and installing fuel delivery unit