volkswagen Workshop Repair Guides

Volkswagen Workshop Service and Repair Manuals

Rear side marker light, USA and Canada only > < Bulb for front side marker lightM11, USA and Canada only
Removing and installing bulb for front side marker lightM11
Removing and installing bulb for front side marker light -M11-
Special tools and workshop equipment required
   
t  Removal wedge -3409-
  Note
t  
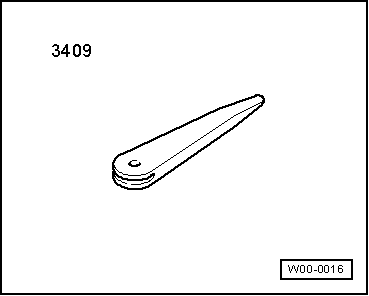
When removing and installing components that are in view (switches, covers, trim and so on), mask off areas in which tools (removal wedge -3409-, screwdriver) are used to lever out those components using commercially available tape.
t  There is no requirement to disconnect the battery earth strap.
t  
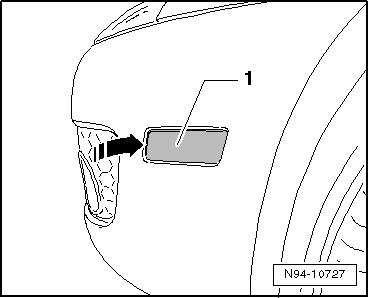
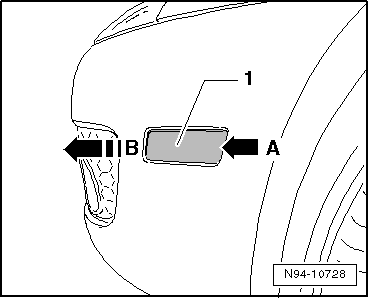
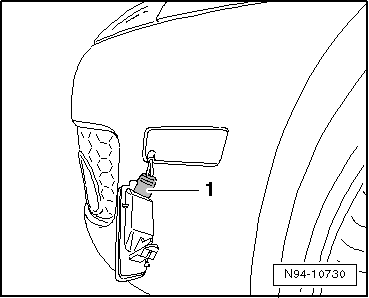
The illustrations show removal and installation of left bulb for front side marker light -M11-.
t  Removal and installation of the left and right bulb for front side marker light -M11- is carried out in the same way respectively.
Removing:
–  Switch off ignition and all electrical consumers.
  W00-0016
–  Push side marker light -1- carefully in bumper cover (0.5 - 1.0 cm) -arrow-.
  N94-10727
–  Position the assembly wedge -VAS 3409- behind -arrow A- on the side marker light -1- and push it lightly forwards -direction of arrow B-.
  N94-10728
–  Pull side marker light -1- in direction of -arrow- out of bumper cover.
  N94-10729
–  Pull holder with bulb -1- out of housing.
  N94-10730
–  Take bulb out of holder.
Bulb 12 V, W 5 W
Installing:
–  Place the new bulb in the holder.
  N94-0787
–  Ensure when pushing on bulb holder -1- that the markings align.
–  First place side marker light forwards in aperture of bumper cover and then push on rear of side marker light until it clicks into place.
  N94-10731

Rear side marker light, USA and Canada only > < Bulb for front side marker lightM11, USA and Canada only