volkswagen Workshop Repair Guides

Volkswagen Workshop Service and Repair Manuals

Poly V-belt routing, 2.0 l FSI turbocharged engine > < Tightening sequence of ancillary bracket, 2.0 l FSI turbocharged engine
Removing and installing alternator, 2.0 l FSI turbocharged engine
  Caution
When batteries are disconnected and reconnected, the procedure described in the workshop manual must be strictly observed → Chapter.
   
Special tools and workshop equipment required
t  Torque wrench -V.A.G 1331-
t  Locking pin -T10060 A-
t  Spring-type clip pliers -VAS 5024 A-

Removing:
–  Disconnect battery → Chapter.
   
–  Remove securing bolts -arrows-.
  N27-10270
–  Disconnect connector -arrow-.
  N27-10271
–  Loosen spring-type clips -arrow- using spring-type clip pliers -VAS 5024 A-.
  N27-10272
–  Pull engine cover panel upwards -arrows-.
  Note
  N27-10273
t  All hose connections of charge air system are secured with spring-type clips or push-on connectors. The following points must be observed for push-on connectors:
t  Release push-on connection by pulling securing ring -arrow-.
t  Pull off hose/pipe without tools.
  N27-10014
–  Disconnect plug connector -arrow-.
  N27-10274
–  Loosen spring-type clip -arrow- using spring-type clip pliers -VAS 5024 A-.
  N27-10275
–  Remove securing bolts -arrows-.
–  Remove hose from vehicle.
  N27-10276
–  Pull activated charcoal filter -1- upwards out of fasteners -arrows-.
–  Place activated charcoal filter -1- with connected hoses to one side.
  Caution
Before removing, mark the top side and direction of rotation of the poly V-belt. When installing, ensure correct fitting position and direction of rotation. If the belt is installed in the wrong position or against direction of rotation, the belt will be destroyed!
–  Mark direction of rotation of poly V-belt.
  N27-10189
–  Release tension on poly V-belt by levering back tensioning element in -direction of arrow- using a 16 mm open-jaw spanner and lock tensioning element with locking pin -T10060 A-.
–  Remove poly V-belt.
  N13-10135
–  Loosen the threaded connections of the coolant pipe -arrows-.
  Note
The coolant pipe can remain installed. It will have to be loosened in order to be able to remove the alternator.
  N27-10278
–  Remove securing bolts of alternator -arrows-.
  N27-10022
–  Disconnect DF wire connector -1- and pull off protective cap -2-.
  N27-10020
–  Unscrew B+ (battery positive) wire -arrow- from alternator.
  N27-10021
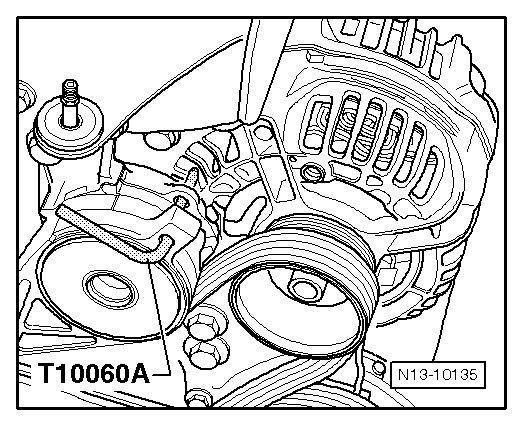
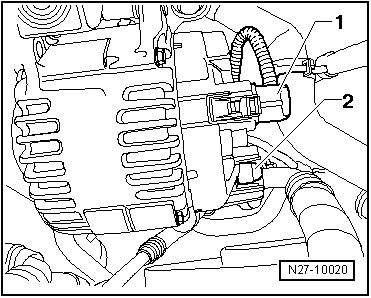
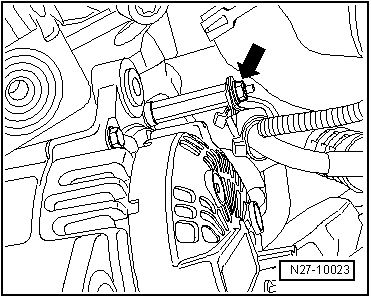
–  Unscrew wiring retainer -arrow- from alternator.
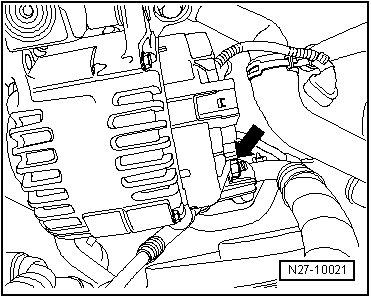
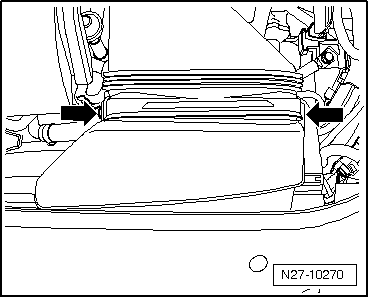
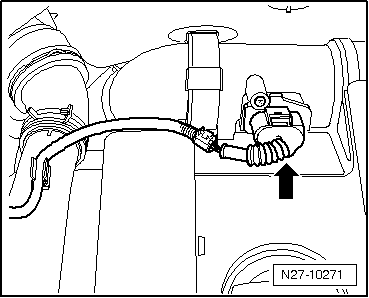
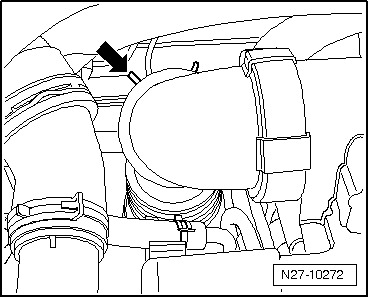
–  Remove alternator from vehicle.
Installing:
Install in the reverse order of removal. When doing this, note the following:
  Caution
t  In order to avoid damage to cylinder block and ancillaries bracket, adhere strictly to the tightening sequence for the ancillaries bracket → Chapter.
t  When installing used poly V-belts observe the direction of rotation marked on removal!
t  Before installing poly V-belt, ensure that all ancillaries (alternator, air conditioning compressor) are secure.
t  When fitting belt, ensure that poly V-belt seats correctly in pulleys!
  N27-10023
–  Drive threaded sleeves -A- about 4 mm in direction of -arrow- out of alternator housing.
  N27-0388
–  Tighten cable retainer -arrow- to rear of alternator in 9 o'clock position.
  Note
  N27-10193
t  All hose connections of charge air system are secured with spring-type clips or push-on connectors. The following points must be observed for push-on connectors:
t  Push on hose or pipe without tools.
t  Ensure that locking lugs are securely engaged -arrow-
–  Tighten threaded connections to torques specified in assembly overview → Chapter.
  Caution
Observe notes for battery terminal clamp bolt → Chapter.
–  Reconnect battery → Chapter.
–  Start engine and check belt is running correctly.
–  Switch off engine.
  N27-10029

Poly V-belt routing, 2.0 l FSI turbocharged engine > < Tightening sequence of ancillary bracket, 2.0 l FSI turbocharged engine