| –
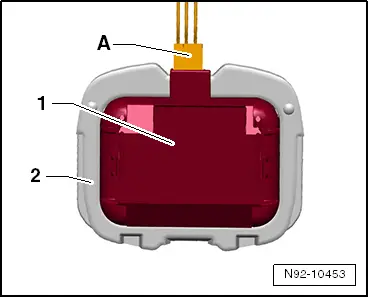
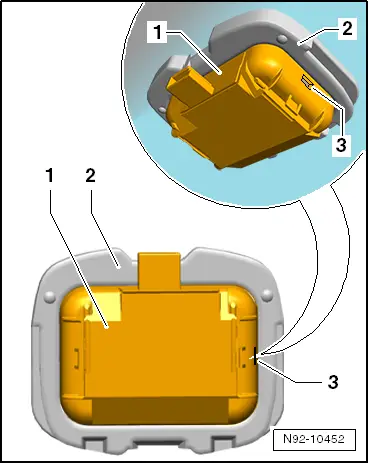
| Using a suitable plain slot screwdriver, lever rain and light sensor -G397--1- on recess -3- out of retaining plate -2-. |

Note | On removal, take care to lever out the entire rain and light sensor -G397- and not just the upper shell of the sensor. |
| Installation is carried out in the reverse order. When installing observe the following: |

Caution | t
| Prior to installation, thoroughly clean the surface of the windscreen inside the bracket for rain and light sensor -G397-. Any remains of coupling pad adhering to the windscreen must be completely removed. |
| t
| The surface (coupling pad) of the rain and light sensor -G397- must not be soiled on installation. A sensor with damaged coupling pad must be renewed. |
|
Note | If the surface (coupling pad) of the rain and light sensor -G397- is soiled, it may be possible to clean it by „bonding on“ and then „pulling off“ one or more adhesive strips. |
| –
| Remove protective cap of new rain and light sensor -G397- if necessary. |
|
|
|