
Passat L4-1984cc 2.0L DOHC (1991)
For vehicles built up to 7-90:
-
disconnect OXS harness connector 1
-
touch wire to control unit (arrow) for approx. 20 seconds
-
touch ground (-) if necessary, using jumper leads from VW 1594 adaptor kit
For vehicles built after 8-90:
-
disconnect OXS (4 pin) harness connector and OXS heater 1, mounted on right engine mount
-
touch violet wire from control unit (arrow) to ground for approx. 20 seconds using jumper leads from VW 1594 adaptor kit
If control current changes
-
replace OXS sensor (G 39)
-
read and then erase Fault memory
If control current does not change
-
perform Electrical Test Step 13 in Repair Group D2 and/or replace control unit (J 204)
-
read and then erase Fault memory, see Repair Group D2 for additional information
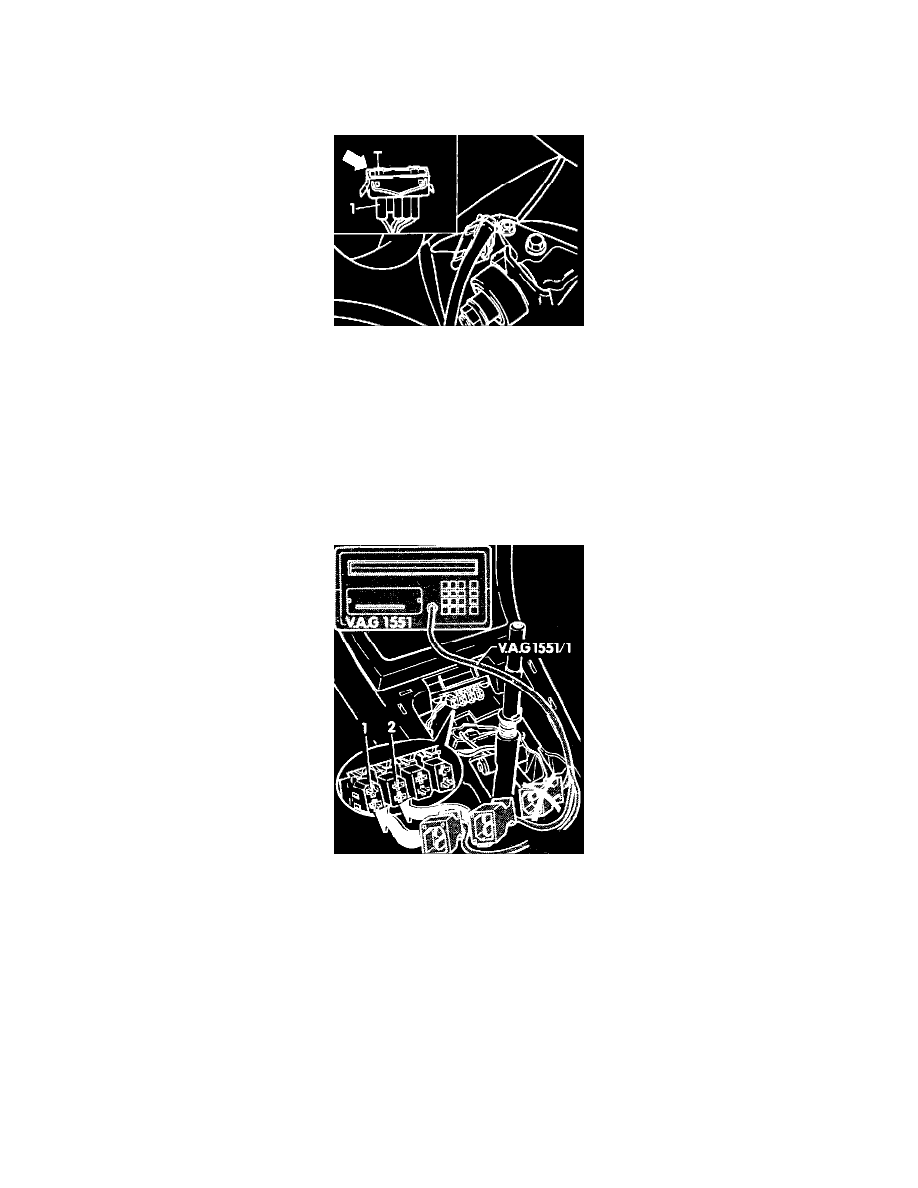
For vehicles built after 10-90 starting with control unit:
49 States - 8A0 907 404
California - 893 907 404Q
-
connect VAG 1551 Diagnostic Tester using VAG 1551/1 adaptor cable as follows
-
connect VAG 1551/1 black connector to black diagnostic connector 1 in vehicle
-
display must appear on tester
NOTE: If a display does not appear do not connect white connector. There is a problem with the vehicle power supply to the VAG 1551: Check
using wiring diagram, repair or replace as necessary.
After display "V.A.G SELF-DIAGNOSIS:" appears
-
connect white VAG 1551 connector to brown and/or white diagnostic connector 2 in vehicle
-
start engine, and let idle
-
press 1 to enter "rapid data transfer"
-
press 0 and 1 to select engine electronics