volkswagen Workshop Repair Guides

Volkswagen Workshop Service and Repair Manuals

Servicing accelerator mechanism > < Removing and installing fuel cooler
3-cyl. diesel engine, Mechanics
Removing and installing parts of fuel supply system
Removing and installing fuel tank
 
W00-0427

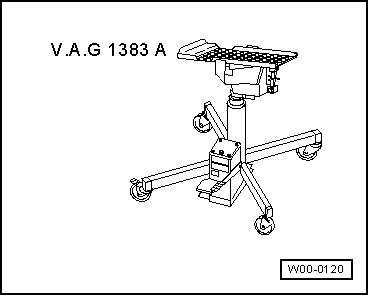
Special tools, workshop equipment, testers, measuring instruments and auxiliary items required

  • ◆ V.A.G 1331 Torque wrench (5...50 Nm)
 
W00-0120
  • ◆ V.A.G 1383 A Engine/gearbox jack

Removing

  • ‒ Note safety precautions before starting work

Note:

Check whether a coded radio is installed as during the forthcoming work sequences the battery earth strap must be disconnected. Obtain radio code first if necessary.

  • ‒ With the ignition switched off disconnect battery earth strap.
  • ‒ Fold rear seat bench forwards.
  • ‒ Remove cover under bench seat.
 
N20-0360
  • ‒ → Pull fuel return flow pipe -1- (blue) and fuel supply pipe -2- off flange.

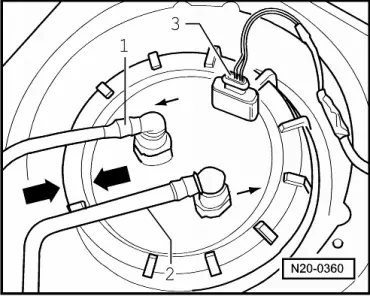
Note:

Press buttons on hose couplings -arrows- to do this.

  • ‒ Pull off connector -3-.
  • ‒ Open fuel flap.
  • ‒ Drain fuel tank, clean fuel filler neck and surrounding area.
  • ‒ Unhook front and rear silencers and if necessary tie to body with wire.
  • ‒ Remove rear right wheel.
  • ‒ Detach filler pipe from body.
  • ‒ Take filler cap off filler neck and detach filler neck from cup.
  • ‒ Remove tensioning strap. When doing this support fuel tank with engine/gearbox jack V.A.G 1383 A.
  • ‒ Remove filler pipe.
  • ‒ Take out fuel tank together with heat shield.

Installing

Install in reverse order but note following:

  • ◆ Route breather hose kink free.
  • ◆ Do not interchange supply and return hose (return hose blue or blue markings, supply hose black).
  • ◆ Clip supply and return pipe onto fuel tank.
 
N20-0360

→ Connections for return flow pipe -1- (blue or with a blue mark) and black supply pipe -2- are marked on the fuel gauge sender flange by arrows.

Servicing accelerator mechanism > < Removing and installing fuel cooler