
Polo Mk3
|
Removing and installing gearbox
Removing and installing gearbox
|
 |
|
|
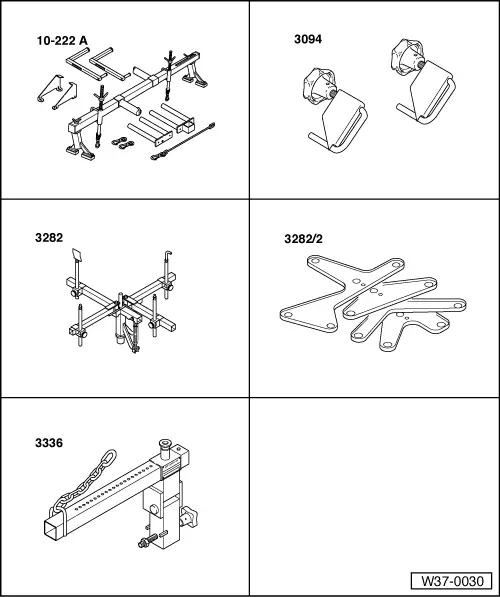
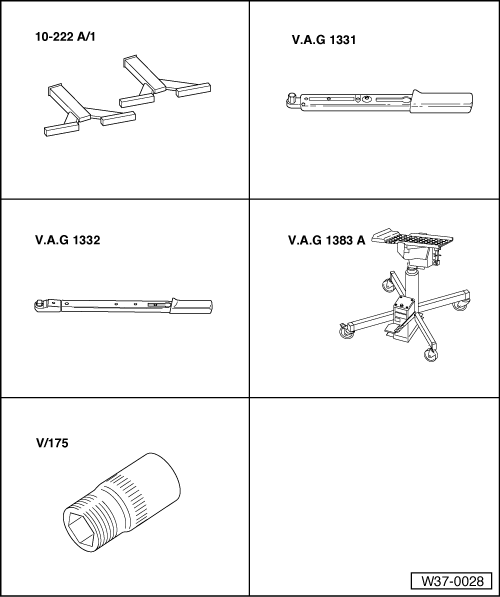
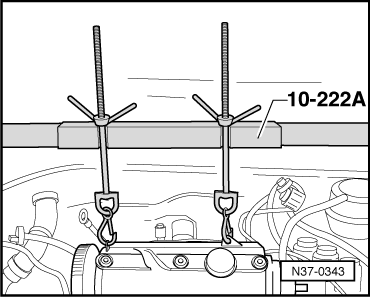
Special tools and workshop equipment required
|
 |
|
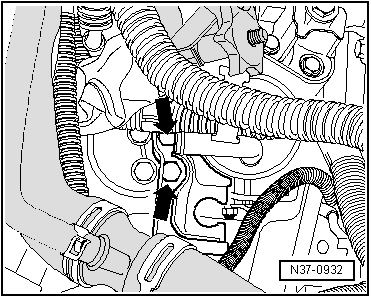
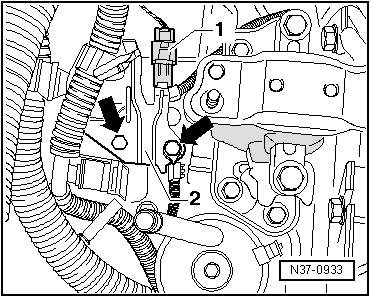
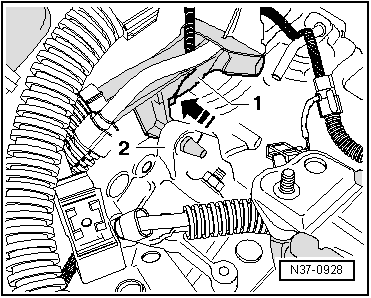
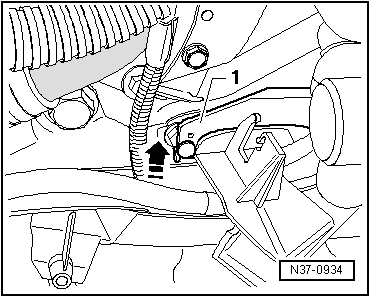
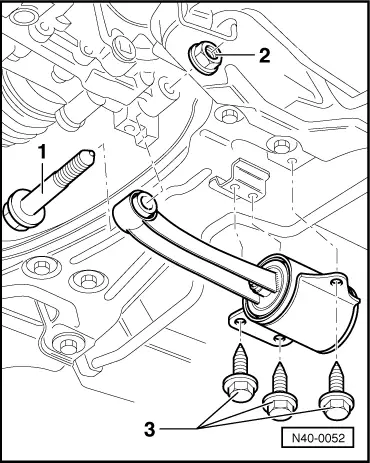
Removing gearbox
|
 |
|
|
Vehicles up to 06.99
Continued for all vehicles
Vehicles up to 06.99
Vehicles from 07.99 |
 |
|
|
 |
|
|
 |
|
|
 |
|
|
 |
|
|
 |
|
|
 |
|
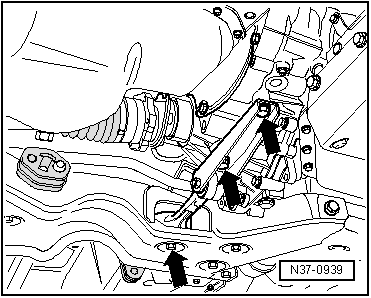
Continued for all vehicles |
 |
|
Vehicles from 07.99
Continued for all vehicles |
 |
|
=> Running gear; Repair group 40; Removing and installing drive shaft |
 |
|
|
 |
|
Vehicles up to 06.99 |
 |
|
|
 |
|
|
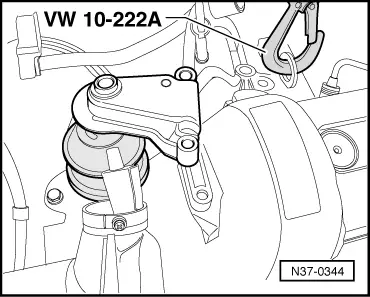
Vehicles from 07.99
Continued for all vehicles
Vehicles up to 06.99 |
 |
|
|
 |
|
|
 |
|
|
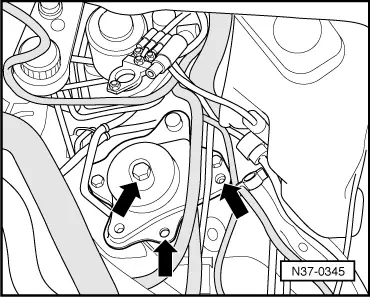
Vehicles from 07.99
|
 |
|
Continued for all vehicles
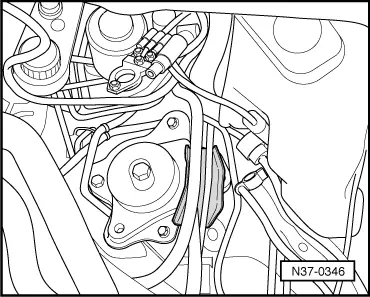
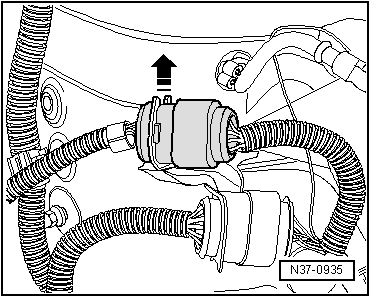
Do not open pipework !
|
 |
|
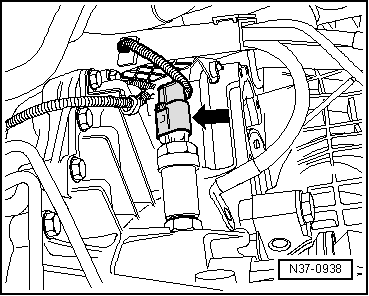
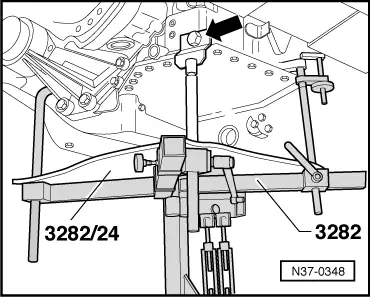
The gearbox mount 3282 is set up with the adjusting plate 3282/24 for removing the automatic gearbox 001.
|
 |
|
|
 |
|
|
Installing gearbox Install in reverse order but note following:
When swinging in gearbox, ensure that the torque converter does not slip out of position. |
 |
|
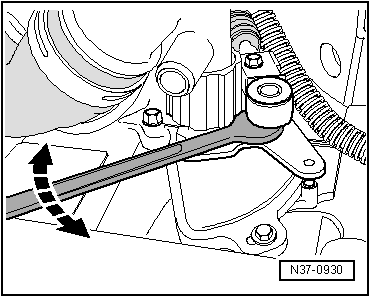
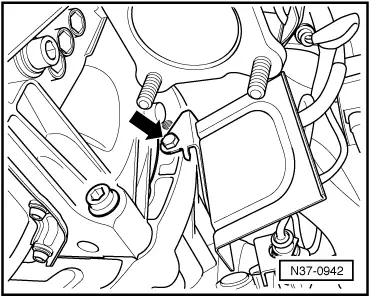
The bolts from assembly mountings and suspension systems are affected in most cases. Check relevant repair groups for further details. To ensure smooth and quiet running of this Volkswagen, it is important that the engine and gearbox are installed free of tension. For information on how to do this => Repair group 10; Removing and installing engine Information about torque settings of assembly mounting bolts and the exhaust system can also be found here. |
|
|
=> Radio, Telephone, Navigation; Repair group 91; Radio systems
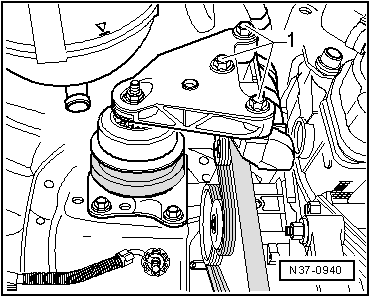
Tightening torques Left-hand console for assembly mounting to gearbox 25 Nm |
 |
|||||||||||||||||||||||||||||||||||||
|
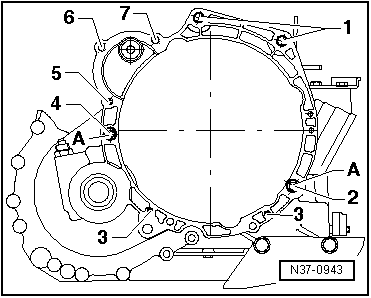
→ Gearbox to engine
|
|
|
|
→ Torque converter to drive plate 85 Nm Torque settings for running gear: Driveshaft to flanged shaft, swivel joint to wishbone, coupling rod to wishbone, assembly mounting including pendulum support => Running gear; Repair group 40 Wheel bolts => Running gear; Repair group 44; Wheel bolt torque settings Steering => Running gear; Repair group 48 Engine torque settings: |
 |
|
|
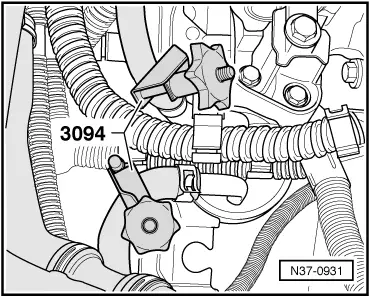
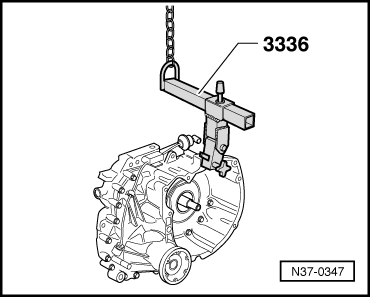
Transporting the automatic gearbox Special tool 3336 may be used to transport the automatic gearbox and also when setting up gearbox mount 3282.
|