| t
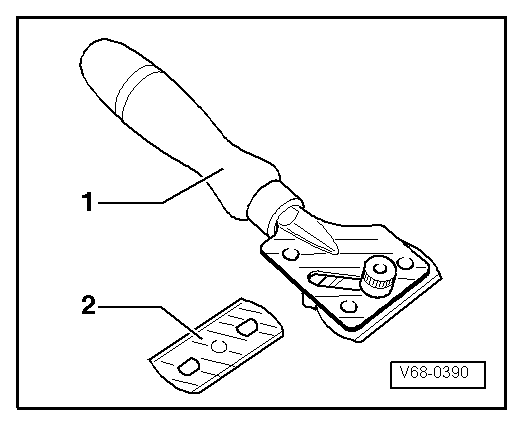
| Blade -2- (commercially available). |
| t
| Set of adhesives for metal and glass -D
000 703 A1-. |
| –
| Remove the mirror base support. |
| –
| Remove the adhesive residues from the support with a steel
brush. |
| –
| Sand the three spacing bumps on the gluing surface. To
do so, place the sandpaper (360/400 grit) over a flat surface. |
| –
| Keep the sanded surface free of dirt and grease. |
| –
| Scrape the adhesive residues and the primer from the windscreen
up to the ceramic paint coat with a glass scraper. |
| –
| Clean the gluing surface using the Adhesive remover -D 002 000 10- or the Cleaning product -D 009 401 04-. |

WARNING | Do not damage the ceramic layer. Scratches will always be
visible. |
|
| –
| Cut the nylon mesh to the exact size of the mirror base. |

Note | Use of protection gloves (rubber gloves) is recommended. |
| –
| Apply an even coat of adhesive to the mirror support. |
| –
| Seat the nylon mesh fabric on the mirror support. |
| –
| Moisten the nylon mesh fabric in adhesive, applying one
more coat with the tube. |
Note | You have 30 seconds to place the nylon mesh over the adhesive
and press the set onto the windshield. |
| –
| Strongly press the base of the mirror onto the windshield
for 15 seconds (without excessive force). |
| –
| Remove the excess of adhesive with a cloth. |
Note | The rearview mirror can be assembled after 15 minutes. |
|
|
|
