Polo Mk4
 WARNING
 Note
Note
|
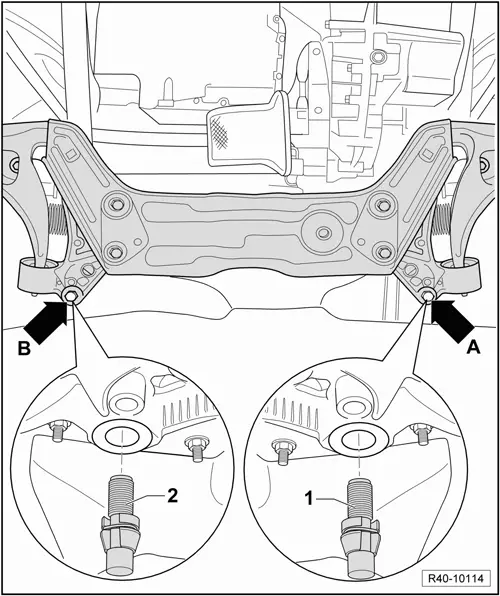
|
| Tightening torques |
| Components | Tightening torques | ||
Body console
| 70 Nm + 90° | ||
Rear body support
| 20 Nm + 90° | ||
Pendulum support to transmission
| 30 Nm + 90° |

Note
|
|
| Tightening torques |
| Components | Tightening torques | ||
Body console
| 70 Nm + 90° | ||
Rear body support
| 20 Nm + 90° | ||
Pendulum support to transmission
| 30 Nm + 90° |