volkswagen Workshop Repair Guides

Volkswagen Polo Workshop Service and Repair Manuals

Checking compression > < Removing and installing timing chain and drive chain for oil pump
Adjusting valve timing
Procedure
   
–  Fit support bracket -10 - 222 A- with rack -10 - 222 A /1- as shown.
–  Removing poly V-belt → Chapter.
–  Unbolt earth wire -1-.
  Caution
Nut -2- must not be loosened.
  N15-0614
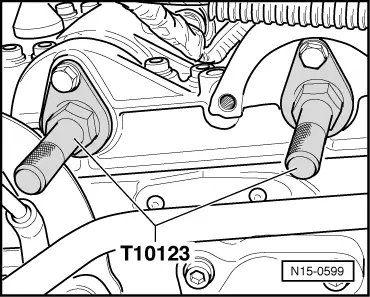
–  Unscrew securing bolts -arrows- for engine mounting.
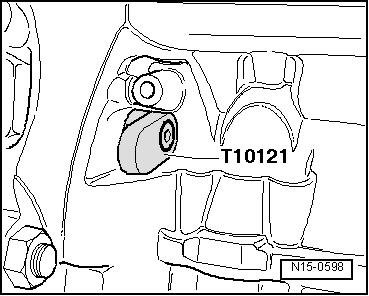
–  Remove complete engine mounting.
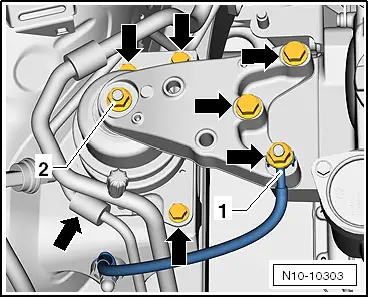
Loosen or separate the following components:
t  Coolant pump pulley
t  
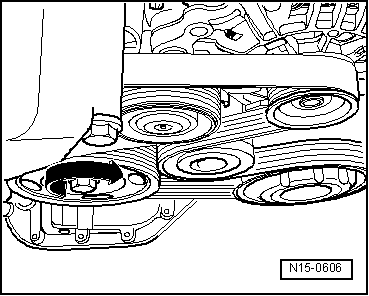
Tensioning element/belt drive
t  Tensioning roller
t  Alternator
t  Air conditioner compressor
t  Crankshaft pulley
t  Oil level and oil temperature sender -G266-
t  Oil dipstick
t  Oil sump
t  Control housing/chain drive
–  Tighten crankshaft V-belt pulley securing bolt into crankshaft to stop.
  N10-10303
–  Turn crankshaft by pulley securing bolt in direction of engine rotation until grooves are positioned horizontally in both camshafts.
  N15-0606
–  Camshaft clamps -T10123- must be easily insertable into camshafts.
–  Attach both clamps hand-tight using -M6- hex bolts.
–  Loosen both securing bolts for the camshaft pulleys (use counterhold tool -T10172-).
  N15-0599
–  Turn crankshaft by pulley securing bolt in direction of engine rotation until locking pin -T10121- can be inserted into flywheel.
–  Tighten securing bolts for camshaft sprockets to 50 Nm (use counter-hold tool -T10172-).
–  Then tighten the bolts 90° further using a rigid wrench.
–  Remove both locating tools from camshaft and flywheel.
–  Turn crankshaft two full turns in direction of engine rotation and check valve timing again → Chapter
Further assembly is basically the reverse of the dismantling sequence.
  N15-0598

Checking compression > < Removing and installing timing chain and drive chain for oil pump