
Scirocco L4-1715cc 1.7L SOHC (1983)
-
installation is reverse of removal
-
check that installed clamps seat securely in the appropriate notches on manifold and pipe flange
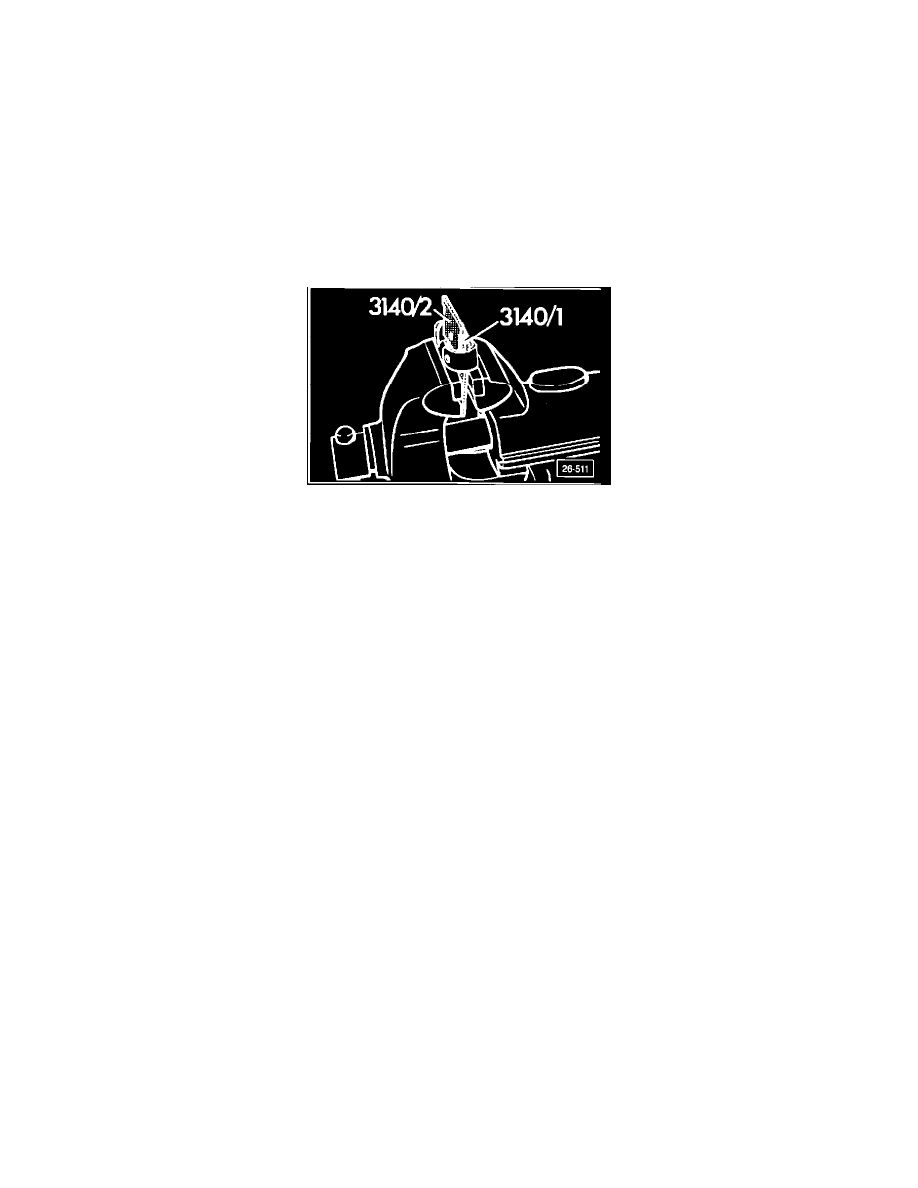
Spring clamps, expanding or releasing
To release tension on a removed spring clamp or to apply tension to a "bare" clamp (new or uninstalled), proceed as follows using a bench vise.
CAUTION
Do NOT attempt to spread a "bare" clamp with the 3140/2 short wedge until first spreading the clamp with the 3140/1 starting wedge. Personal injury as
well as tool and clamp damage could result.
Releasing tension Work sequence
-
open vise approximately 15 mm (0.060 in)
-
place clamp across vise so that blade of installed wedge 3140/2 is between vise jaws
-
using plastic mallet, drive starting wedge 3140/1 into the clamp, next to the previously installed 3140/2 short wedge
-
turn clamp over and first knock out short wedge 3140/2, then knock out 3140/1 starting wedge
CAUTION
Care must be exercised when you knock wedge tools out of the spring clamps. The combination of the hammer blow and the spring tension will expel
the tool with considerable force. Catch the tool with a rag filled box, or other suitable dampening device.
Applying tension Work sequence
-
open vise approximately 15 mm (0.060 in)
-
place clamp on its side across vise jaws
-
using plastic mallet, drive starting wedge 3140/1 into clamp
-
using plastic mallet, drive short wedge 3140/2 into clamp until tool shoulder butts clamp edge
-
invert clamp and knock starting wedge out of clamp leaving short wedge in place
-
spring clamp can now be installed in vehicle (see installing, work sequence)