Up!
|
 Note
Note
|

|

| Carry out following work: |
| – | If fitted, remove window crank → Chapter. |
| – | Remove front door trim → General body repairs, interior; Rep. gr.70. |
| – | Remove cover or front loudspeaker → Communication; Rep. gr.91. |
| – | Detach connector -3- for exterior mirror -1-. |
| – | Pull off operating handle -7-. |
| – | Unscrew hexagon nut -6-. |
| – | Unscrew bolts -5- from exterior mirror -1-. |
| – | Swivel lower part of exterior mirror -1- away from the door a little -arrow a- and pull it downwards out of window channel -arrow b-. |
| – | If fitted, thread wires -2 and 4- for exterior mirror through opening in door. |
|

| Carry out following work: |
| – | Check proper seating of foam element in door. |
| – | Thread wires -3 and 5- for exterior mirror -1- through opening in door. |
| – | Push exterior mirror -1- into window channel -2- from below -arrow a- and press the lower part onto the door -arrow b-. |
| – | Screw in and tighten bolts -5- for exterior mirror -1-. |
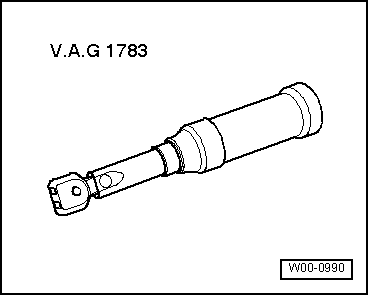
| Specified torque for bolt -5-: 12 Nm. |
| – | Screw on and tighten hexagon nut -7- for exterior mirror -1-. |
| Specified torque for hexagon nut -7-: 1.5 Nm. |
| – | If fitted, connect connectors -2 and 4- for exterior mirror -1-. |
| – | Fit operating handle -8-. |
| – | Install front door trim → General body repairs, interior; Rep. gr.70. |
| – | Install cover or front loudspeaker -4- → Communication; Rep. gr.91. |
