
Up!
|
|
|
|
|
 Note
Note| t | The removal and installation procedures may have to be modified slightly depending on model variants. |
| t | When fitting the emblem, observe the fitting notes below. |
| Fitting notes |
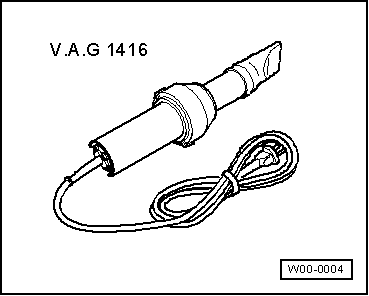
| t | Heat lettering or emblem with hot air blower -V.A.G 1416- before removing. |
| t | If the lettering or emblem is removed and reinstalled, only use adhesive remover -D 002 000 10- to remove the adhesive remains. |
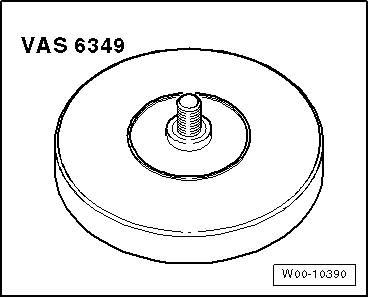
| t | Remove existing adhesive residue of adhesive tape using adhesive strip remover -VAS 6349-. |
| t | Ensure that the adhesive surfaces are free of dust and grease. |
| t | The lettering or emblem must be bonded in place immediately after cleaning. |
| t | Remove protective backing immediately before installation. |
| t | Working temperature is approx. 21°C. |
| t | Lettering or emblem cannot be removed without becoming damaged. |

| – | Warm emblem -1- with hot air blower -V.A.G 1416- before removing. |
| – | Lift VW emblem off rear lid. |
|
| – | The height dimension -dimension a- from bottom edge of rear lid to bottom edge of emblem is 162 mm. |
| – | Align emblem with height marking and mark the contours of emblem -1-. |
| – | Clean bonding surface -3- and allow to dry for 10 minutes. |
| – | Prime bonding surface -3- and allow to dry for 10 minutes. |
| – | Remove markings. |
| – | Pull off backing foil. |
| – | Align emblem -1--arrows a and b- and and press it on firmly. |