Up!
|
|

|
 Note
Note
|

|

| Carry out following work: |
| – | If fitted, remove window crank → Chapter. |
| – | Remove front door trim → General body repairs, interior; Rep. gr.70. |
| – | Remove cover → Chapter. |
| – | Remove lock cylinder cover cap → Chapter and lock cylinder → Chapter on driver side. |
| – | Remove cover cap on front passenger side → Chapter. |
| – | If fitted, disconnect connector. |
| – | Remove bolts -2-. |
| – | Remove door lock -1- from door -arrow-. |
 Note
Note| Cables can be detached if this is necessary for subsequent work. |
| Detaching cable from door handle bracket |
| – | Turn cable -5- by 90° and take it out of holding device. |
| – | Swivel cable -arrow b- so far until cable can be threaded out of eye in door lock -1--arrow c-. |
| Detaching cable from interior door handle |
| – | Turn cable -4- by 90° and take it out of holding device. |
| – | Swivel cable -arrow d- so far until cable can be threaded out of eye in door lock -1--arrow e-. |
|

| Carry out following work: |
| – | Attach cables -4- and -5- to door lock -1-. |
| – | Insert door lock -1- into door. |
| – | If fitted, connect connector. |
| – | Screw in bolts -2-. |
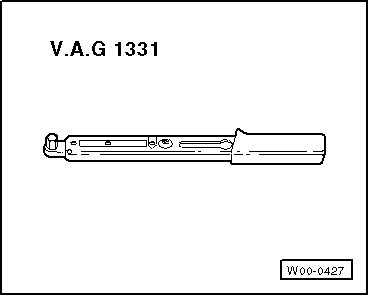
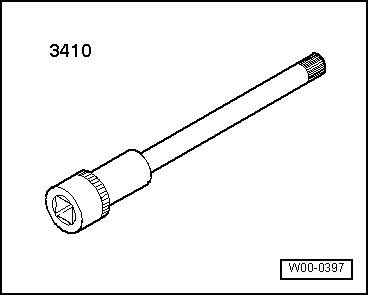
| Specified torque for bolts -2-: 18 Nm. |
| – | Clip cover -3- in. |
| Further installation is performed in the reverse order of removal. |
| l | It is essential to perform a functional check. If the cables are not adjusted correctly and the door is closed without having performed a functional check, the door lock might not unlock and the door can't be opened. |
