volkswagen Workshop Repair Guides

Volkswagen Workshop Service and Repair Manuals

Removing and installing A-pillar trim > < Removing and installing sill moulding, 4-door model
Removing and installing sill moulding, 2-door model
Special tools and workshop equipment required
   
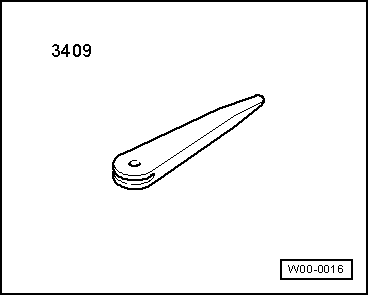
t  Removing wedge -3409-
  W00-0016
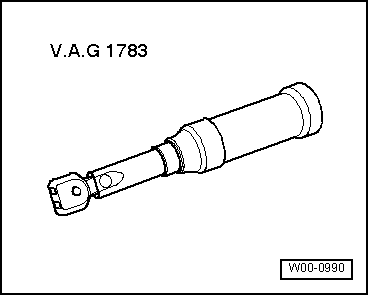
t  Torque wrench -V.A.G 1783-
  Note
t  Removal and installation are described for the left vehicle side. Follow same instructions for the right side as appropriate.
t  Removal and installation for vehicles with belt anchor tensioner are analogous.
  W00-0990
Removing
–  Remove side trim → Chapter.
–  Unscrew bolt -1- (2 Nm).
–  Pull sill panel moulding -2- out of front side member and beading of door seal.
–  Release sill moulding retaining clip -3- from B-pillar.
–  Detach sill moulding -2- upwards from bodywork mounting -4-.
–  Remove sill moulding -2- with retaining clip -5- from vehicle.

Installing
  Note
t  Before installing, check all fasteners for damage and renew if necessary.
t  Check the snap nut for damage and renew if necessary.
t  Following installation, ensure that trim is positioned in door seal beading.
Install in reverse order of removal.
   

Removing and installing A-pillar trim > < Removing and installing sill moulding, 4-door model