Vehicle electricsRemoving and installing battery tray
| Removing and installing battery tray |
| Special tools and workshop equipment required |
|
|
|
| t
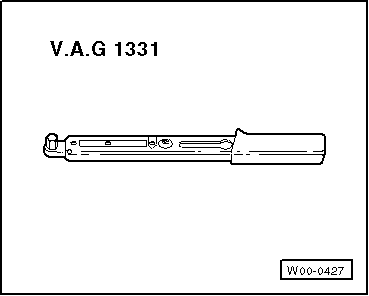
| Torque wrench -V.A.G 1331- |
|
|
|
| –
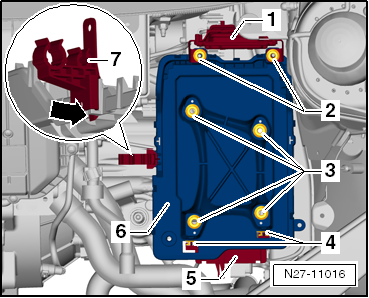
| Undo and remove the 2 bolts -arrows- and place engine control unit -1- together with bracket and connected cable to one side. |
| –
| Undo and remove the 4 nuts -3-. |
| –
| Release the two catches -4- and pull refrigerant line holder -5- upwards off battery tray. |
| –
| Unclip and remove all lines from the refrigerant line holder -7-. |
| –
| Pull catch at bottom of refrigerant line holder -arrow- and pull holder upwards off battery tray. |
| –
| Remove battery tray -6- from vehicle. |
|
|
|
| Installation is carried out in the reverse order. When installing observe the following: |
| –
| Push refrigerant line holder -5- onto battery tray, ensuring that it locks into place. |
| –
| Insert battery tray -6- in vehicle and clip the refrigerant lines into the holder -5-. |
| –
| Clip refrigerant lines into holder -7- and latch the holder to battery tray -6-. |
| –
| Secure battery tray -6- with the 4 nuts -3-. |
| –
| Put engine control unit -2- together with bracket onto the battery tray and secure with 2 bolts -2-. |
| –
| Tighten all threaded connections to torque specified in assembly overview → Chapter. |
|
|
|
03 General