
RDX AWD L4-2.3L Turbo (2010)
Pressure Regulating Solenoid: Testing and Inspection
A/T Clutch Pressure Control Solenoid Valve A and B Test
A/T Clutch Pressure Control Solenoid Valve A and B Test
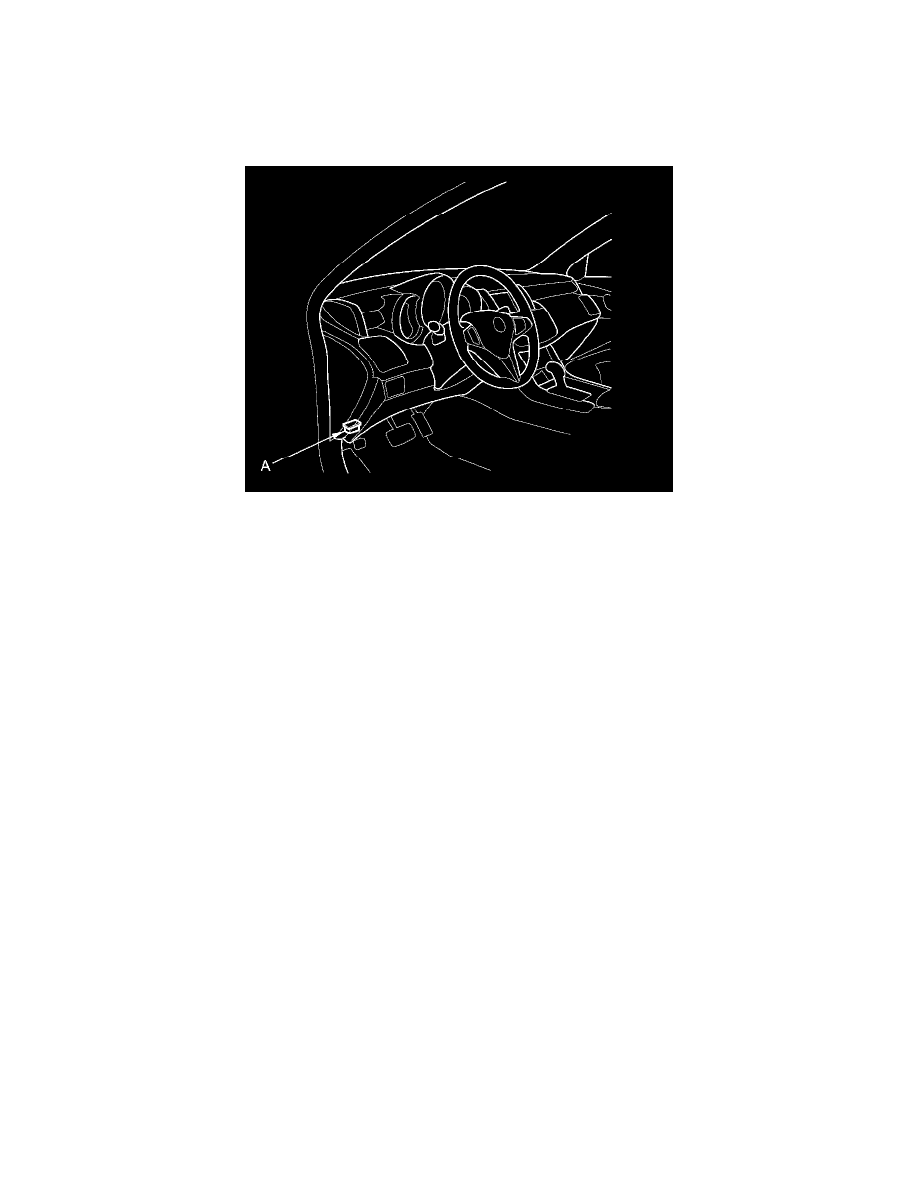
1. Connect the HDS to the DLC (A).
2. Turn the ignition switch to ON (II). Make sure the HDS communicates with the PCM. If it does not, go to the DLC circuit troubleshooting See:
Powertrain Management/Computers and Control Systems/Testing and Inspection/Component Tests and General Diagnostics/DLC Circuit
Troubleshooting.
3. Select Clutch Pressure Control (Linear) Solenoid A or B in the Miscellaneous Test Menu on the HDS.
4. Test A/T clutch pressure control solenoid valve A or B with the HDS.
-
If the valve tests OK, the test is complete. Disconnect the HDS.
-
If the valve does not test OK, follow the instructions on the HDS.
-
If the valve does not test OK, and the HDS does not determine the cause, go to step 5.
5. Do the battery removal procedure See: Starting and Charging/Battery/Service and Repair/Removal and Replacement.
6. Remove the charge air cooler cover See: Powertrain Management/Fuel Delivery and Air Induction/Turbocharger/Intercooler/Service and Repair.
7. Remove the air cleaner See: Engine, Cooling and Exhaust/Engine/Tune-up and Engine Performance Checks/Air Cleaner Housing/Service and
Repair.
8. Remove the battery base See: Engine, Cooling and Exhaust/Engine/Service and Repair/Engine Removal.
9. Disconnect the A/T clutch pressure control solenoid valve A and B connectors.