audi Workshop Repair Guides

Audi Workshop Service and Repair Manuals

Trims for 5-door vehicles > < Removing sill panels
General Body Assembly, Interior (Repair groups 68, 69, 70, 72, 74)
Trims
Removing and installing floor covering
  • ◆ Removing
  • ‒ Removing and installing front left/right seat
    up to 01. 1999
  • ‒ Removing and installing rear bench seat => Page 72-186
  • ‒ Removing and installing sill panel trim => Page 70-104
  • ‒ Removing and installing side trim => Page 70-86
  • ‒ Removing and installing lower section of centre console
  • ‒ Removing and installing lower A-pillar trim => Page 70-82
  • ‒ Removing and installing foot rest => Page 70-81
  • ‒ Remove accelerator pedal stop.
  • ‒ Removing and installing locking cable (automatic gearbox)

=> Automatic Gearbox; Repair group 37

  • ‒ Remove tunnel brace => Fig.1
  • ‒ Removing and installing footwell air outlet => Fig.2
  • ‒ Removing and installing seat belt outer floor group attachment => Page 69-35
 
A48-0104
  • ‒ → Remove lower steering column cover.
  • ‒ Unscrew plastic nut -1- and remove cover -A-.
  • ‒ Remove right air outlet => Fig.3
  • ‒ Pull handbrake up as far as possible.
  • ‒ Position gear lever or selector lever as far back as possible.
  • ‒ Detach floor covering from seat rail and rear footwell vent.
  • ‒ Lift rear section of floor covering over handbrake lever.
  • ‒ Pull floor covering backwards and lift over gear lever or selector lever.
  • ‒ Fold floor covering lengthways and remove through door.
  • ◆ Installing
  • ‒ Fold new floor covering lengthways and place in vehicle.

Note:

Floor covering is liable to tear at cut outs.

  • ‒ Push floor covering forwards as far as possible until hole patterns for accelerator pedal stop and foot rest are aligned.
  • ‒ Press floor covering under handbrake lever.
  • ‒ Carry out remainder of installation in reverse order of removal.
 
A68-0028

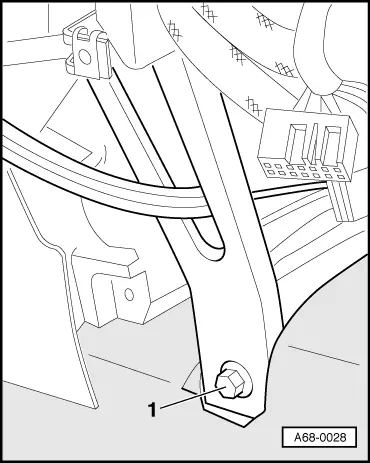
→ Fig.1    Detaching tunnel brace

  • ‒ Unscrew bolt -1- at bottom and bolt at top (2x). Tightening torque: 14 Nm.

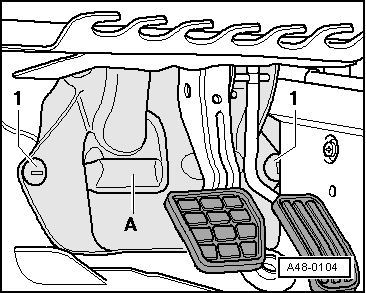
Fig.2    Removing and installing footwell vent

 
A80-0077
  • ‒ → Remove connection pieces between footwell and rear vent -B-.
  • ‒ Unscrew bolts -C-.
  • ‒ Remove footwell vent -D- in direction of driver's side footwell (arrow).
 
A70-0117

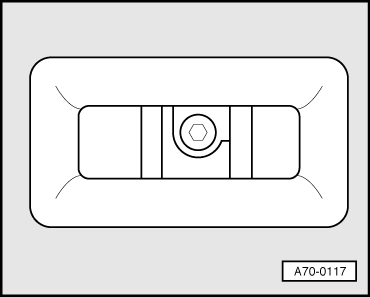
Fig.3    Right footwell vent

  • ‒ → Unscrew bolt -1-.
  • ‒ Remove right footwell vent -2-.

Trims for 5-door vehicles > < Removing sill panels