
A3 Mk1
|
Removing and installing cylinder head -vehicles with front-wheel drive-
Removing cylinder head
|
 |
|
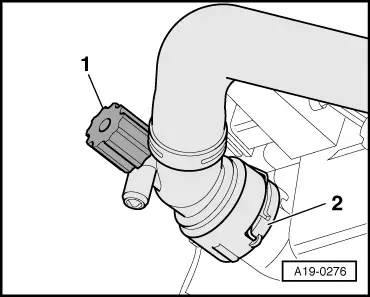
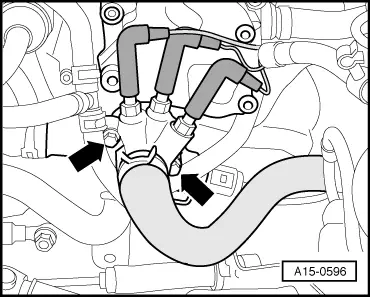
Vehicles with engine code AXR: |
 |
|
|
 |
|
|
 |
|
|
 |
|
|
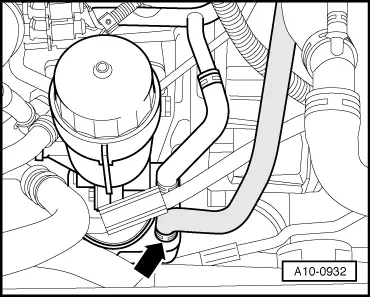
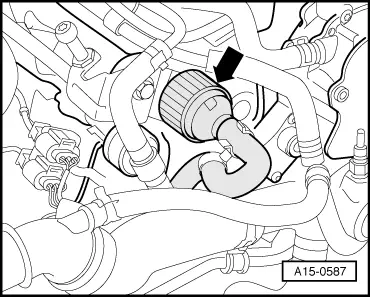
Vehicles with engine code ASZ, ATD:
|
 |
|
All models: Important
Hot steam can escape when opening cap on expansion tank: Cover cap with a cloth and open carefully.
|
 |
|
|
 |
|
|
 |
|
Vehicles with drain plug:
Vehicles without drain plug:
|
 |
|
|
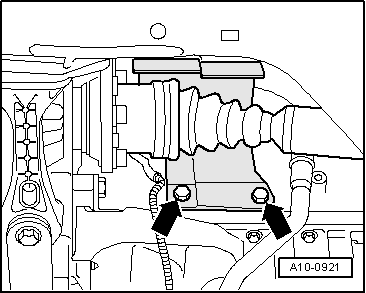
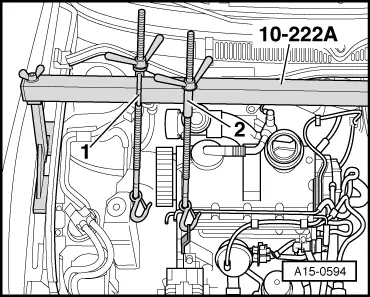
All models:
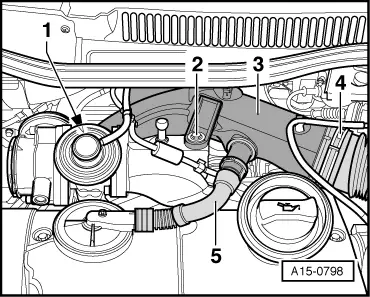
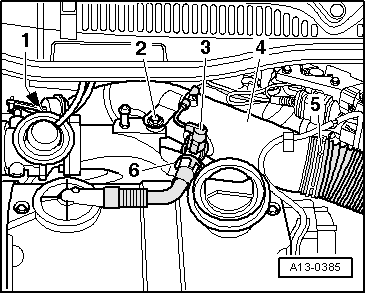
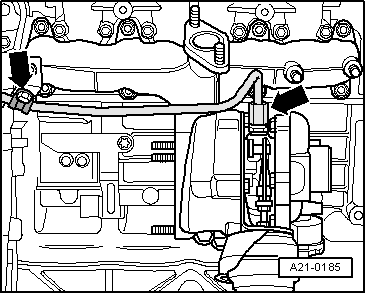
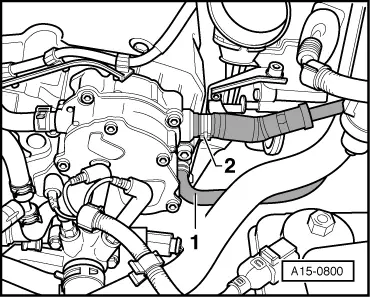
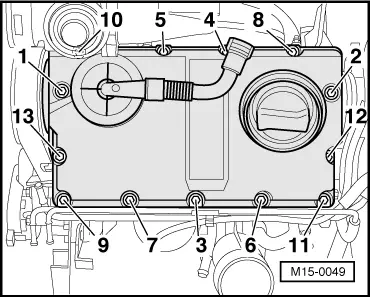
Note: Illustration shows an engine with code ASZ. |
 |
|
|
 |
|
|
 |
|
|
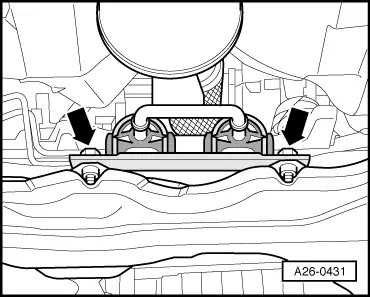
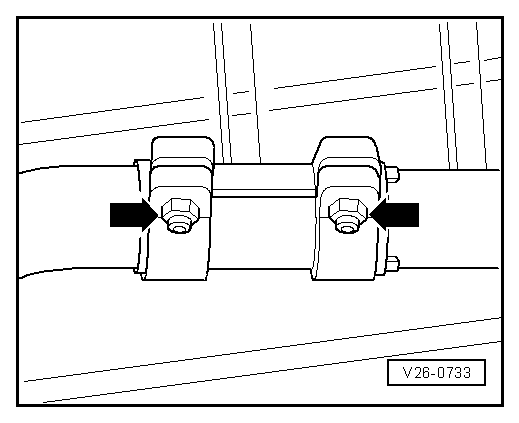
Note: The isolating element in front exhaust pipe must not be deflected more than 10° to avoid damage.
|
 |
|
|
 |
|
|
 |
|
|
 |
|
|
 |
|
|
Vehicles with engine code AXR:
|
 |
|
|
 |
|
|
Vehicles with engine code ASZ:
All models:
|
 |
|
|
 |
|
|
 |
|
Vehicles with engine code AXR:
|
 |
|
|
All models:
|
 |
|
|
 |
|
|
 |
|
 |
|
|
 |
|
|
 |
|
|
 |
|