audi Workshop Repair Guides

Audi Workshop Service and Repair Manuals

Removing and installing coolant pump > < Draining and filling coolant
4-Cylinder engine (2-valve, roller rockers), Mechanics
Removing and installing parts of cooling system
Removing and installing radiator
 
W19-0019

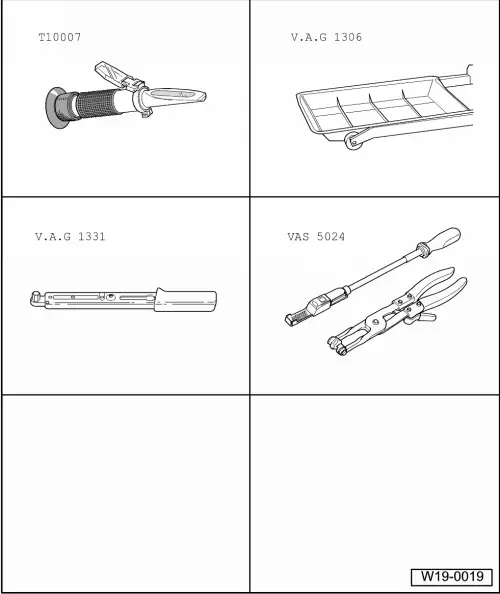
Special tools, workshop equipment, test and measuring appliances and auxiliary items required

  • ◆ T10007 Refractometer
  • ◆ V.A.G 1306 Drip tray
  • ◆ V.A.G 1331 Torque wrench (5...50 Nm)
  • ◆ VAS 5024 Assembly tool for spring-type clip

Removing

  • ‒ Drain coolant.
  • ‒ Removing front bumper:

=> General body repairs, exterior, Repair group 63; Front bumper, Removing and installing front bumper

  • ‒ Pull coolant hoses quick release couplings off radiator.
  • ‒ Pull connectors off thermo-switch and radiator fan.
  • ‒ Bring lock carrier into service position:

=> General body repairs, exterior; Repair group 50; Body, front; Lock carrier service position

  • ‒ Remove radiator securing bolts and take radiator with fan out downwards.

Vehicles with air conditioning system:

  • ‒ Observe additional information and removal work .

Installing

Installation is carried out in the reverse order, when doing this note the following:

  • ‒ Fill coolant
  • ‒ Install front bumper:

=> General body repairs, exterior, Repair group 63; Front bumper, Removing and installing front bumper

Additional information and removal work on vehicles with air conditioner

Warning!
The air conditioning system refrigerant circuit must not be opened.

Note:

To prevent damage to condenser and also to the refrigerant lines/hoses, ensure that the pipes and hoses are not stretched, kinked or bent.

  • ‒ Remove retaining clamp(s) from refrigerant pipes.
  • ‒ Unbolt condenser from radiator and secure to lock carrier.

Removing and installing coolant pump > < Draining and filling coolant