audi Workshop Repair Guides

Audi Workshop Service and Repair Manuals

Stress-free alignment of exhaust system > < Removing and installing exhaust manifold
4-Cylinder engine (5-valve), Mechanics
Removing and installing parts of exhaust system
Removing and installing front exhaust pipe with catalytic converter
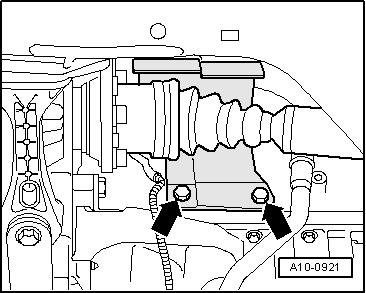
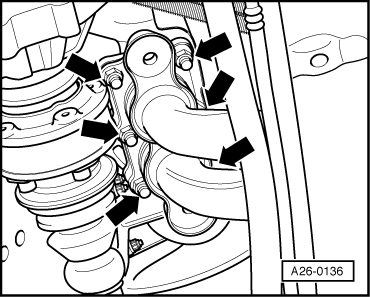
 
A10-1326

Removing

  • ‒ → Unbolt connector cover -1- (-arrows-).
  • ‒ Unplug electrical connectors and move clear wiring for lambda probes.

 
A10-0921
  • ‒ → Remove heat shield for right drive shaft -arrows-.
 
A26-0136

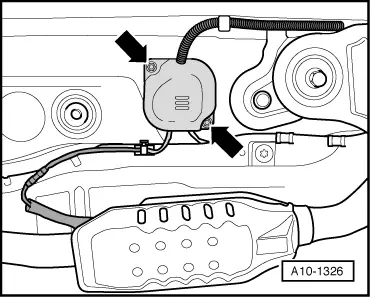
Note:

The flexible pipe connection (de-coupling element) on the front exhaust pipe must not be bent more than 10 °- otherwise it can be damaged.
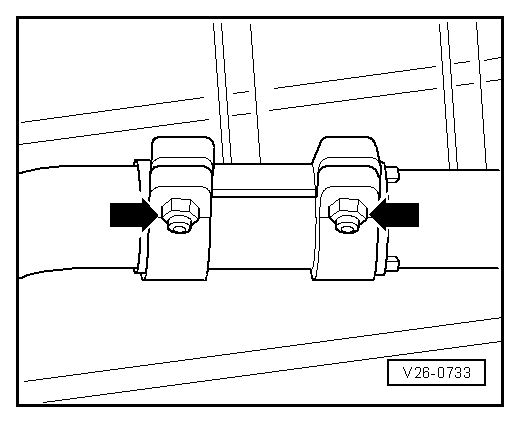
  • ‒ → Unscrew retaining nuts -arrows- for front exhaust pipe/exhaust manifold.

 
V26-0733
  • ‒ → Slacken clamp -arrows- on exhaust system and disconnect exhaust pipe.
  • ‒ Pivot front exhaust pipe 180° and detach.

Installing

Install in reverse sequence; note the following points:

Notes:

  • ◆ Always renew seals, gaskets and self-locking nuts.
  • ◆ On vehicles with engine code letters APG, note the installation position of the gasket between exhaust manifold and front exhaust pipe: the notch on gasket flange points to rear (towards lambda probe)
 
N26-0008
  • ‒ → Tighten nuts securing front exhaust pipe to exhaust manifold in sequence shown in illustration.
  • ‒ Aligning exhaust system free of stress =>
    Page 26-18.

Tightening torque

Component

Nm

Front exhaust pipe to exhaust manifold

40 1)

    1)    Coat studs on exhaust manifold with high-temperature paste;
        for high temperature paste refer to:

=> Parts catalogue

Stress-free alignment of exhaust system > < Removing and installing exhaust manifold