audi Workshop Repair Guides

Audi Workshop Service and Repair Manuals

Removing and installing Hall senderG40 > < Checking glow plug system
Removing and installing glow plugs
Special tools and workshop equipment required
   
t  U/J extension and socket, 10 mm -3220-
  W00-0329
t  Pliers -3314-
Removing
–  Switch off ignition.
–  Remove engine cover panel → Chapter.
–  Clean glow plug openings in cylinder head; make sure no dirt gets into cylinder.
  Note
t  Cleaning procedure:
t  Use a vacuum cleaner to remove coarse dirt.
t  Spray brake cleaner or suitable cleaning agent into glow plug openings, let it work in briefly, and blow out with compressed air.
t  Then clean the glow plug openings using a cloth moistened with oil.
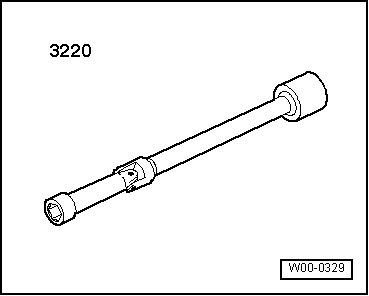
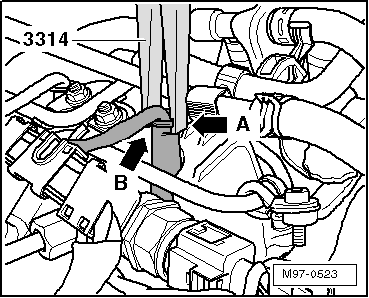
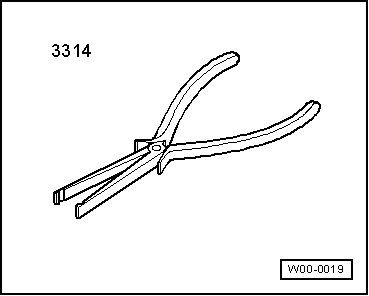
  Caution
Make sure that no wire connection is damaged when unplugging the glow plug connectors; otherwise the entire wiring harness must be renewed. When unplugging the glow plug connectors, do not compress the pliers -3314- with too much force so that the support sleeve is not damaged.
  W00-0019
–  Open catches on cable duct to move clear wiring harness.
  A23-10431
–  Apply groove -arrow A- of pliers -3314- to collar of support sleeve -arrow B- and pull glow plug connectors off glow plugs.
  M97-0523
–  To slacken the glow plugs use special tool U/J extension and socket, 10 mm -3220-.
Installing
–  To tighten the glow plugs use special tool U/J extension and socket, 10 mm -3220- with a suitable torque wrench.
–  Then tighten glow plugs to specified torque.
l  Tightening torque: 17 Nm
–  Attach glow plug connectors correctly and make sure they are securely fitted.
–  Secure wiring harness in cable duct again.
–  The remaining installation steps are carried out in the reverse sequence.
  W00-0329

Removing and installing Hall senderG40 > < Checking glow plug system