
A4 Cabriolet Mk2
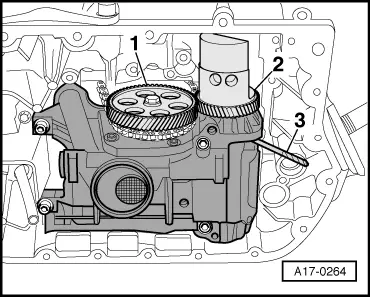
|
|
|
|
|
|
|
 Caution
|

|
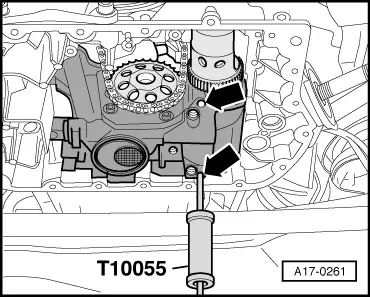
 Note
Note
|
|
|
|
|
|
Note
|
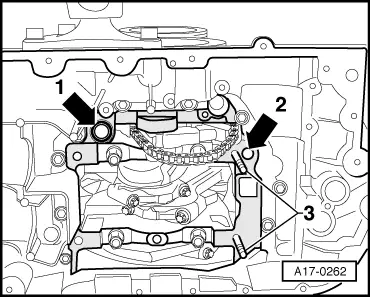
|
Note |
|
|
|
|
|
|
|
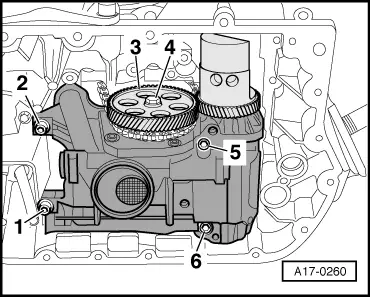
| Component | Nm | |||||||||
| Oil pump to cylinder block | Nuts | 20 + 120° 1)2) | ||||||||
| Bolts | 22 3) | |||||||||
| Drive gear for balance shaft to oil pump | 20 + 90° 3)4) | |||||||||
| Baffle plate (front) to sump (top section) | 10 | |||||||||
| Oil pressure pipe to sump (top section) | 10 | |||||||||
| Sealing plug in cylinder block | 25 | |||||||||
| ||||||||||