
A4 Mk1
|
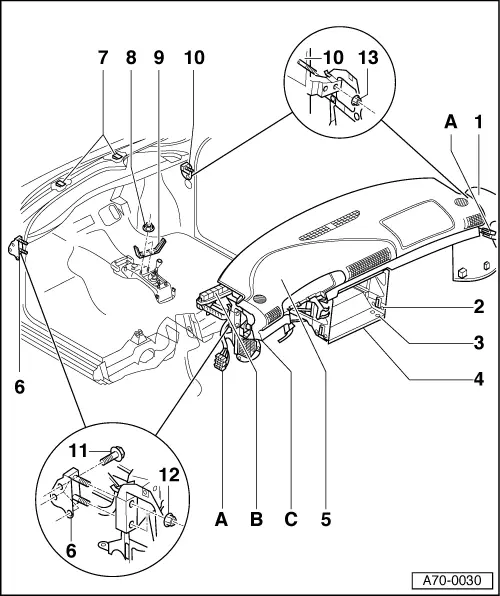
Dash panel
Removing and installing dash panel with cross member
|
 |
|
|
|
|
=> Heating, Air Conditioning; Repair group 80; and => Heating, Air Conditioning; Repair group 87
|
|
|
|
|
|
|
|
|
Fig.:1 Detaching pedal cluster |
 |
|
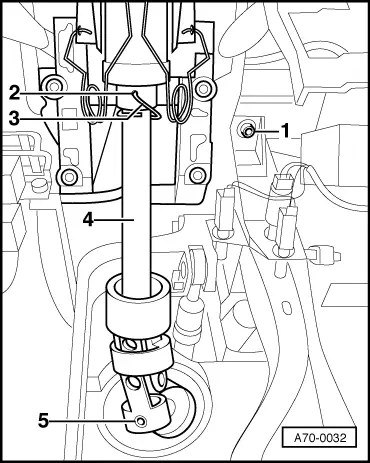
Detach bottom part of steering column
Note: Joint can only be secured in one position when installing). => Running Gear; Repair group 46
Important
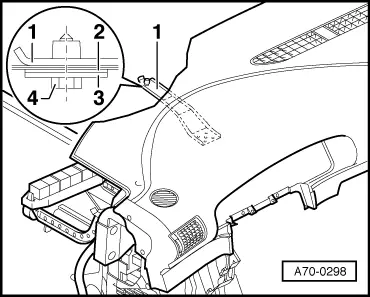
Steering column -4- is never to be completely pulled out or pushed in ( Fig.:2 Unfastening steering column brace |
 |
|
|
Note: Steering column brace was introduced as of 05.98. Bolt for steering column brace is in plenum chamber on driver's side above wiper motor.
|