audi Workshop Repair Guides

Audi Workshop Service and Repair Manuals

Extracting and driving in needle bearing for dual-mass flywheel > < Removing and installing sealing flange (pulley end)
Removing and installing dual-mass flywheel - vehicles with manual gearbox
Special tools and workshop equipment required
   
t  Counter-hold tool -10-201-
  W00-0254
Removing
l  Gearbox removed → Rep. Gr.34.
–  Remove clutch pressure plate → Rep. Gr.30.
–  Mark position of dual-mass flywheel on engine.
–  Attach counter-hold tool -10-201- in order to loosen bolts.
  Note
  A13-0634
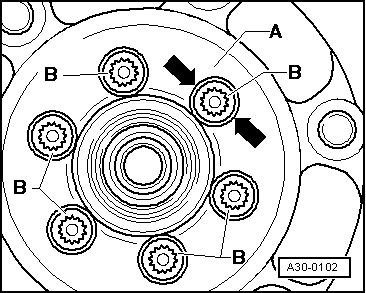
To prevent damage to the dual-mass flywheel when removing, the bolts -B- must not be removed with an impact wrench or similar. The bolts may only be removed by hand using conventional tools.
–  Rotate the dual-mass flywheel -A- so that the bolts align with the holes -arrows-.
–  When unscrewing the bolts, make sure that the bolt heads do not come into contact with the dual-mass flywheel; the flywheel will otherwise be damaged as the bolts are screwed out.
Installing
Installation is carried out in the reverse order; note the following:
  Note
The needle bearing is located in the dual-mass flywheel and must be driven in when renewing the dual-mass flywheel → Chapter.
–  Use new securing bolts.
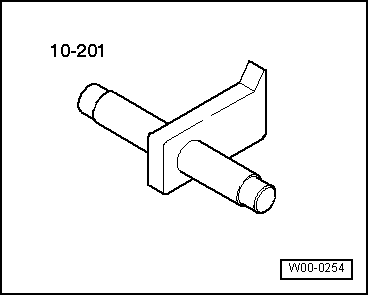
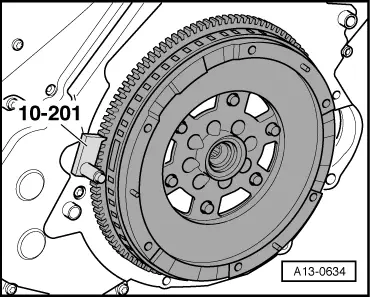
–  Reverse position of counter-hold tool -10-201- in order to tighten bolts.
–  Install clutch pressure plate → Rep. Gr.30.
Tightening torque
  A30-0102
ComponentNm
Dual-mass flywheel to crankshaft60 + 180° 1)
l  1) Renew bolts.


Extracting and driving in needle bearing for dual-mass flywheel > < Removing and installing sealing flange (pulley end)