
A4 Mk1
|
|
|
|
|
|
|
|
|
 Note
Note |
|
|
|
|
|
 Caution
Note
|
|
Note
|
|
|
|
| Component | Nm | ||
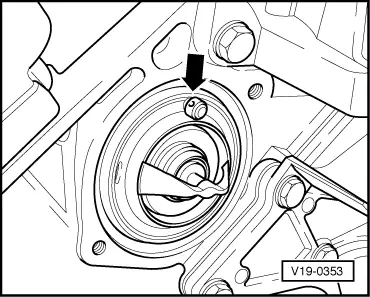
| Thermostat housing to cylinder block | 10 | ||
|
| Starts to open | Fully open | Opening travel | ||
| approx. 87 °C | approx. 102 °C 1) | at least 8 mm | ||
| ||||