
A4 Mk2
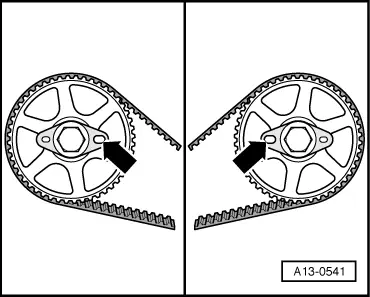
 Note
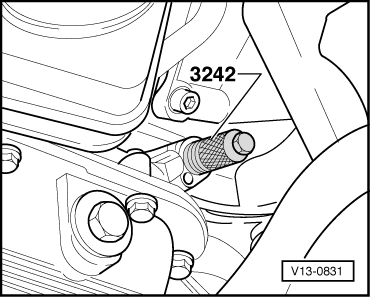
Note
|
|
|
|
|
|
|
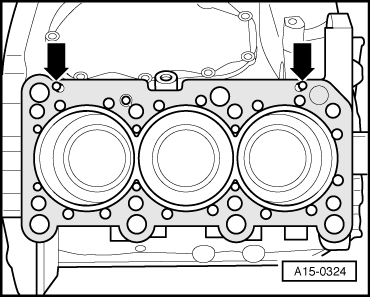
Note
|

|
| Component | Nm | |
| Coolant pipe (rear) to cylinder head | 10 | |
| Combination valve to cylinder head | 10 | |
| Connecting pipe to combination valve | 10 | |
| Connecting pipe | M6 | 10 |
| to cylinder head | M8 | 22 |
| Hose connection to coolant pipe (rear) | 15 | |
| Coolant pipe (left-side) to cylinder head | 20 | |
| Coolant pipe (front) | M6 | 10 |
| to cylinder head | M8 | 22 |
| Guide tube for dipstick to cylinder head | 22 | |
| Pressure pipe for power steering to power steering pump | 47 | |
| Pressure pipe for power steering to cylinder head cover | 10 | |
| Toothed belt cover (rear) | 10 → Note | |
|