| t
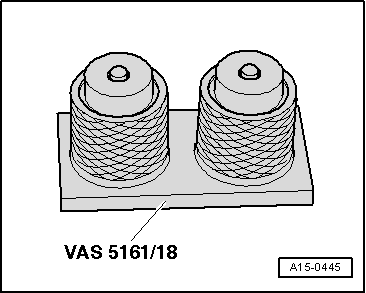
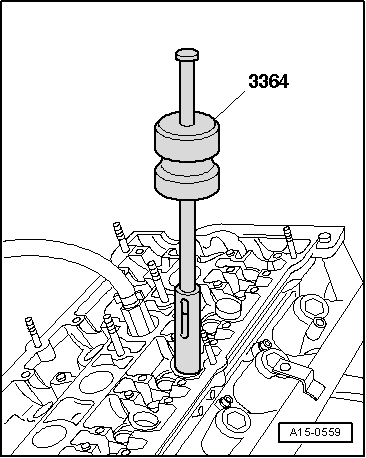
| If valve cotters have been removed from assembly cartridge, they need to be put into insertion device -VAS 5161/18- first. |
| t
| Press assembly cartridge -VAS 5161/8- onto insertion device from above and pick up valve cotters. |
| –
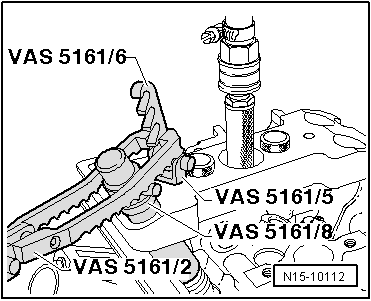
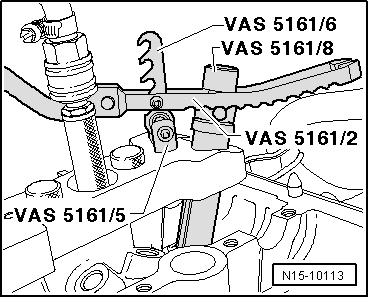
| Use pressure fork -VAS 5161/8- to press down assembly cartridge -VAS 5161/2-, then turn knurled screw of assembly cartridge back and forth while pulling upwards. |
| –
| Release pressure fork -VAS 5161/2- with knurled screw in pulled position. |
| –
| Detach removal and installation device for valve cotters -VAS 5161-. |
| Further assembly is basically carried out in reverse order of dismantling. Note the following: |
|
|
|


 Caution
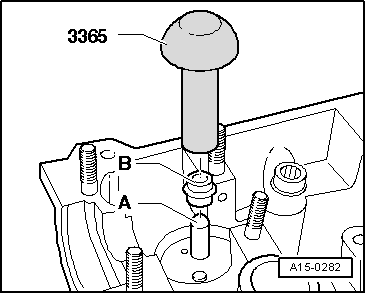
 Note
Note