
1 Series E81 130i (N52K) 3-door
86 10 ...
Removing and installing or replacing left or
right coil spring
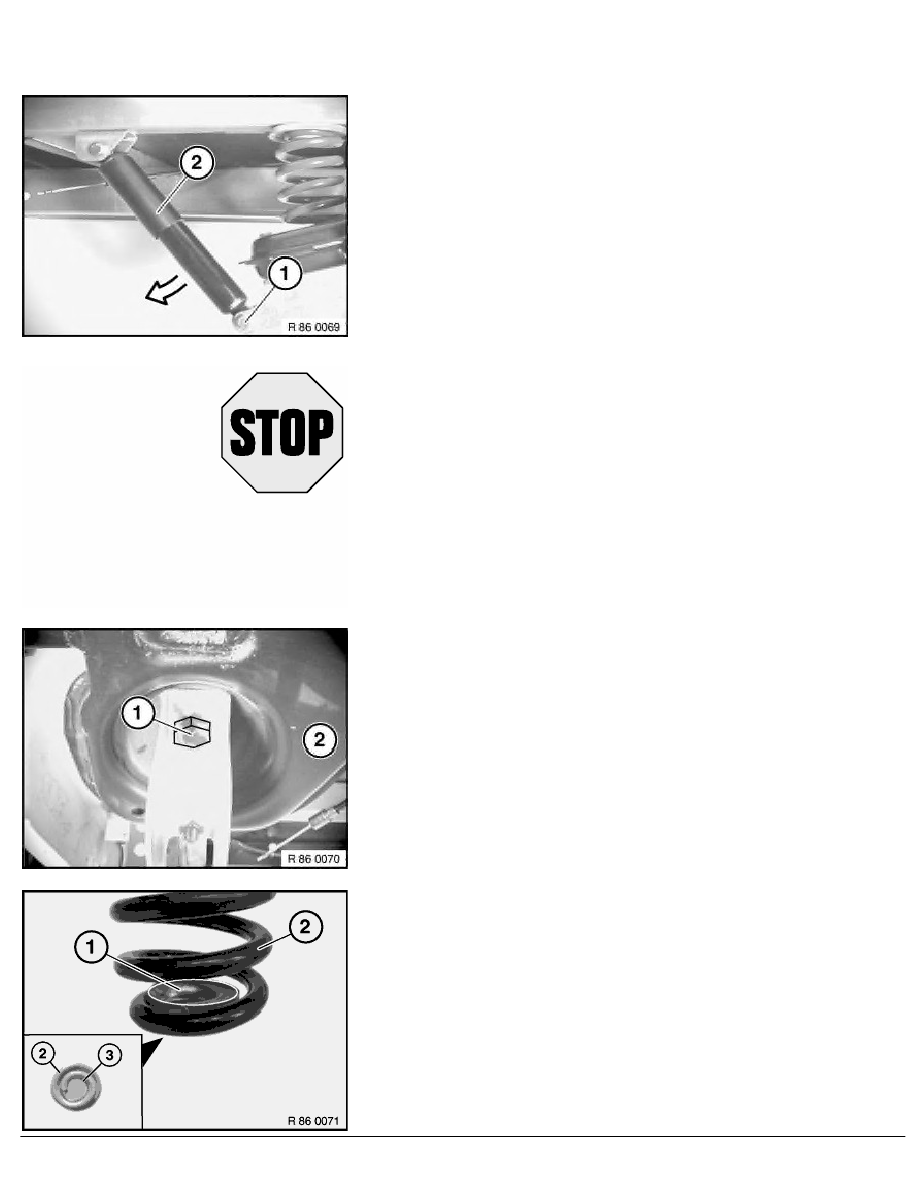
Release screw (1) and remove, tilt shock absorber (2) in direction
of arrow towards rear.
Installation:
Use new self-locking nut.
Hold shock absorber vertically and protective cap points
upwards. Completely press in shock absorber once and pull
out up to required installation length. Do not tilt shock
absorber further than is needed for installation.
Tightening Torque,
refer to Technical Data 86 10 21AZ.
The trailing arm folds down once the coil spring on the arm has
been released.
No persons should be located underneath trailing arm. Risk of
injury!
Release screw (1) between trailing arm (2) and coil spring.
Installation:
Tightening Torque,
refer to Technical Data 86 10 22AZ.
Remove pressure plate (1) from coil spring (2).
Installation:
Use pressure plate with nut.
Fit pressure plate (1) according to its shape (3) into pressure
spring (2).
RA Removing and installing or replacing left or right coil spring
BMW AG - TIS
22.01.2013 10:30
Issue status (12/2007) Valid only until next DVD is issued
Copyright
Page - 1 -