
5 Series E39 M5 (S62) SAL
Caution!
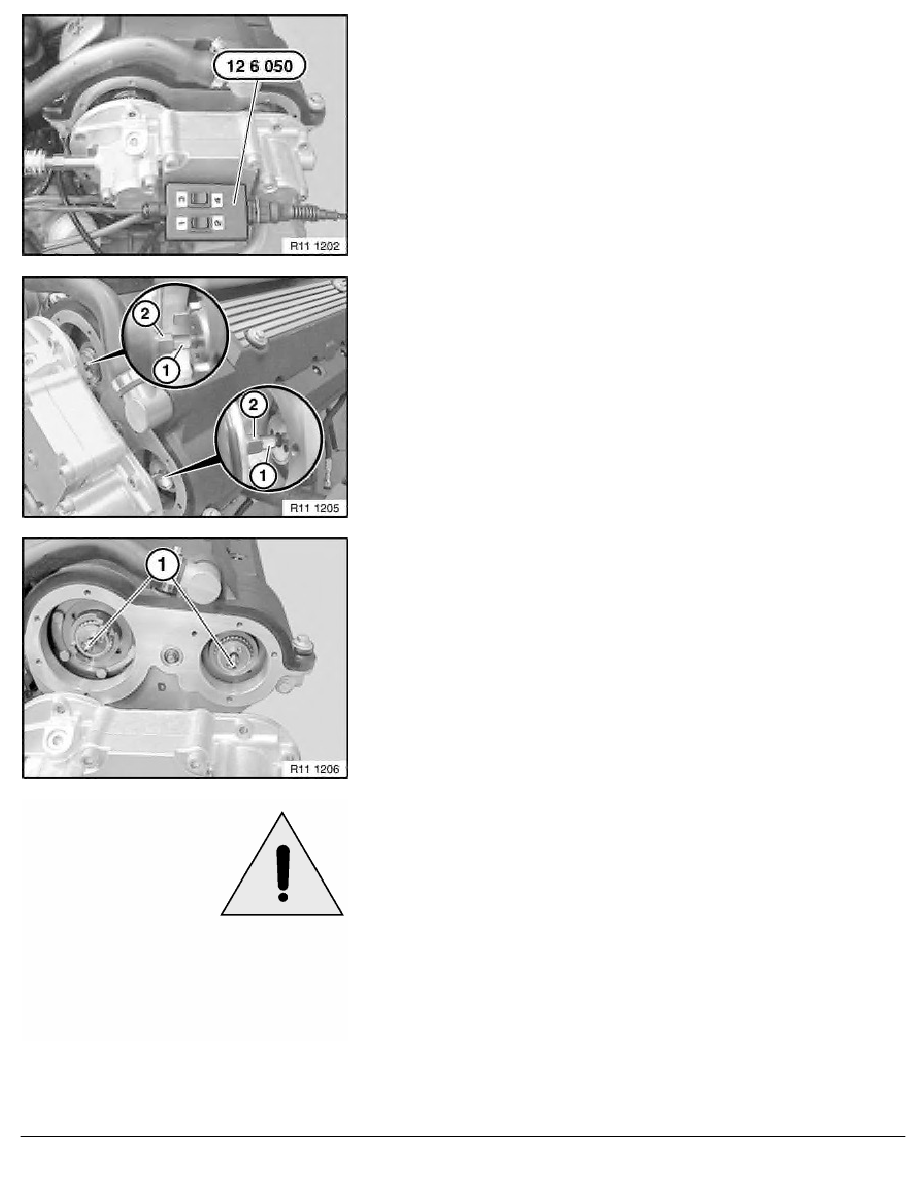
Do "not" pull out VANOS adjustment unit.
Press buttons 1 and 3 on special tool
12 6 050
simultaneously; the hydraulic pistons extend on the inlet and
exhaust sides of the VANOS adjustment unit.
Caution!
CCW thread!
Brace against twin surface (1) and release hex head (2).
Release toothed shaft screw connection on inlet and exhaust
sides; in doing so, support VANOS adjustment unit with your
hand.
Remove VANOS adjustment unit.
Note:
The toothed shafts (1) remain in the VANOS gear on the
engine.
Caution!
The engine must not be cranked while the VANOS adjustment
unit is removed. The toothed shafts might displace and slip
out of the spline teeth; the camshafts would no longer be non-
positively connected and the valves could touch the piston.
RA Removing and installing, sealing/replacing left VANOS adjustment unit (S62)
BMW AG - TIS
21.02.2013 15:26
Issue status (12/2007) Valid only until next DVD is issued
Copyright
Page - 4 -