
LaCrosse V6-3.6L VIN 7 (2006)
Housing Assembly HVAC: Service and Repair
HVAC MODULE ASSEMBLY REPLACEMENT
TOOLS REQUIRED
-
J 39400-A Halogen Leak Detector
-
J 38185 Hose Clamp Pliers
REMOVAL PROCEDURE
1. Recover the refrigerant. Refer to Refrigerant Recovery and Recharging.
2. Disconnect the battery negative cable.
3. Remove the air cleaner assembly.
4. Remove the fuel injector sight shield.
5. Drain the cooling system. Refer to Draining and Filling Cooling System (L26 Static Fill) Draining and Filling Cooling System (LY7 Static Fill)
Draining and Filling Cooling System (L26, LY7, GE 47716 Fill).
6. Remove the instrument panel (I/P) trim pad.
7. Remove the bolt from the accessory wiring junction block.
8. Disengage the junction block tabs from the passenger knee bolster. Remove the junction block from the knee bolster.
9. Remove the brake pedal nut and bolt.
10. Remove the brake pedal brace bolts from the I/P carrier cross car beam.
11. Disconnect any ground wires, as necessary.
12. Reposition the I/P wiring harness out of the way.
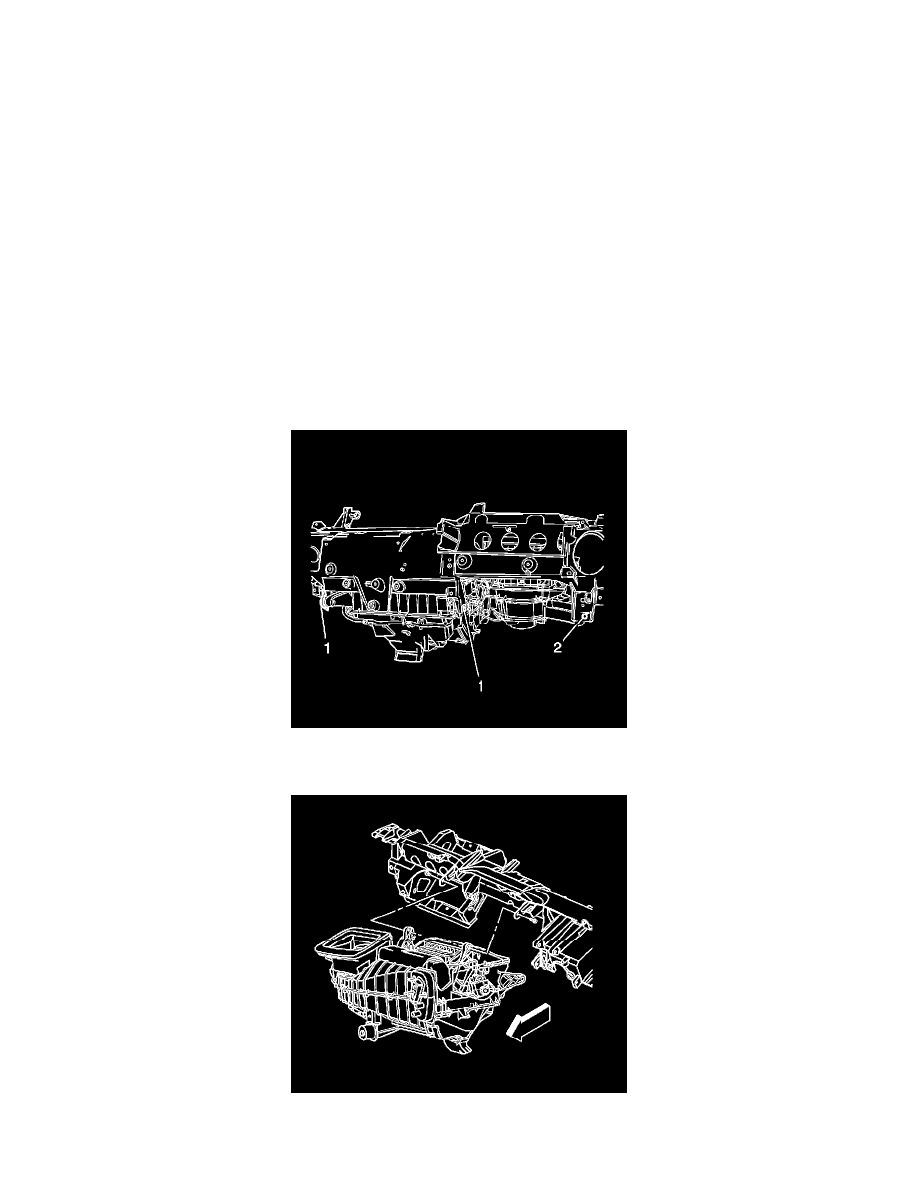
13. Remove the bracket bolt from the HVAC module assembly right support (2).
14. Remove the bracket bolts from the HVAC module assembly lower support (1).
15. Remove the bracket bolts from the HVAC module assembly upper support.
16. Remove the right and the left I/P carrier bolts.