
LaCrosse V6-3.6L VIN 7 (2006)
Ball Joint: Service and Repair
Lower Ball Joint Replacement
^
Tools Required
-
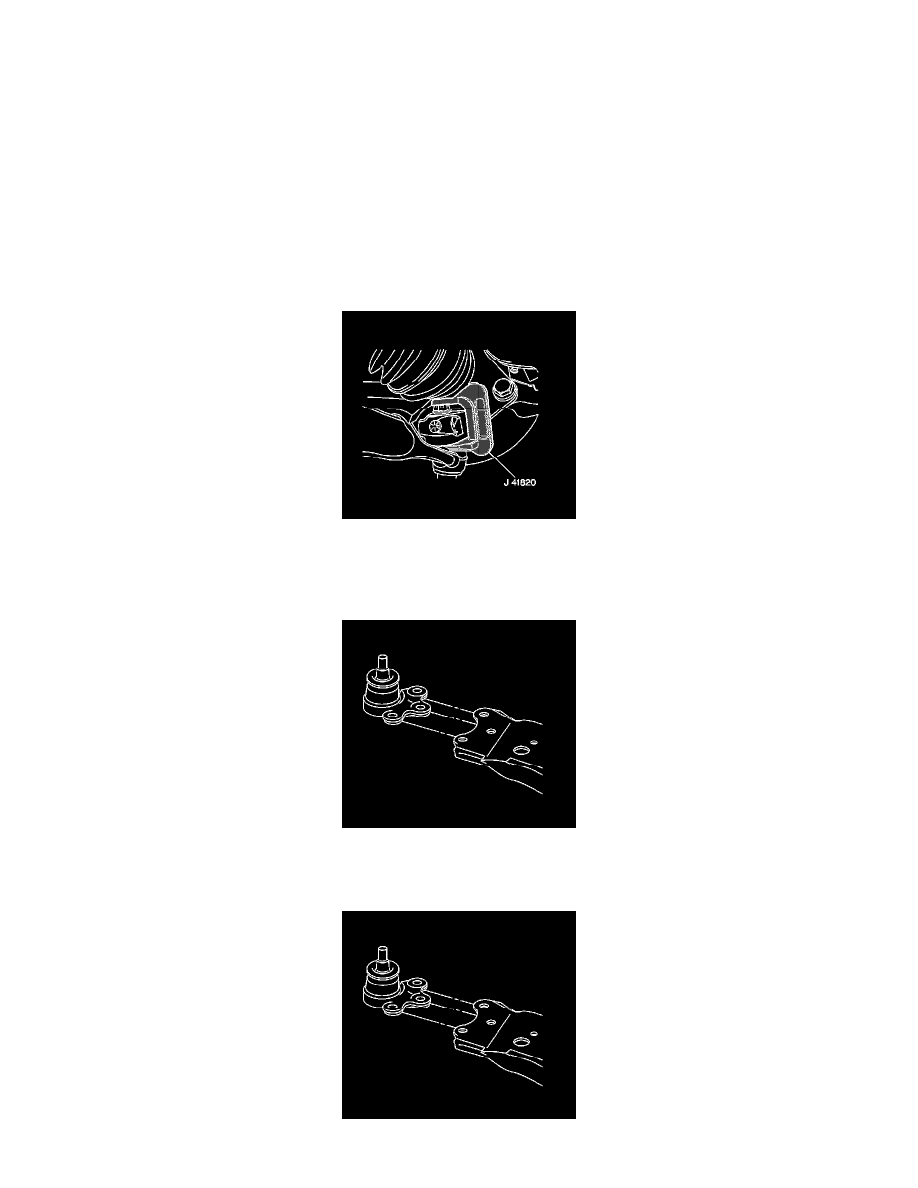
J 41820 Ball Joint/Stud Separator
Removal Procedure
1. Raise and support the vehicle. Refer to Lifting and Jacking the Vehicle.
2. Remove the tire and wheel.
3. Drill a pilot hole through the rivets.
4. Drill the remainder of the rivets.
5. Use a hammer and a chisel in order to remove the remainder of the rivet heads.
6. Remove the cotter pin from the ball stud.
7. Loosen the ball stud nut.
8. Install the J 41820 over the ball stud and lower control arm.
9. Rotate the ball stud nut counterclockwise in order to separate the ball stud from the steering knuckle.
10. Remove the J 41820.
11. Remove the ball stud nut.
12. Remove the ball stud from the lower control arm.
Installation Procedure