
LaCrosse V6-3.8L (2009)
Trim Panel: Service and Repair
Rear Compartment Trim Panel Replacement
Rear Compartment Trim Panel Replacement
Tools Required
J 38778 Door Trim Pad Clip Remover
Removal Procedure
1. Open the rear compartment.
2. If equipped, remove the rear compartment convenience net and net retainers.
3. Remove the sill plate. Refer to Rear Compartment Sill Trim Plate Replacement (See: ).
4. Remove the floor trim panel. Refer to Rear Floor Trim Plate Replacement (See: ).
5. Remove the seat back. Refer to Rear Seat Back Cushion Replacement (Folding) (See: Seats/Seat Back/Service and Repair/Rear Seat Back
Cushion Replacement (Folding))Rear Seat Back Cushion Replacement (Non-folding) (See: Seats/Seat Back/Service and Repair/Rear Seat Back
Cushion Replacement (Non-folding)).
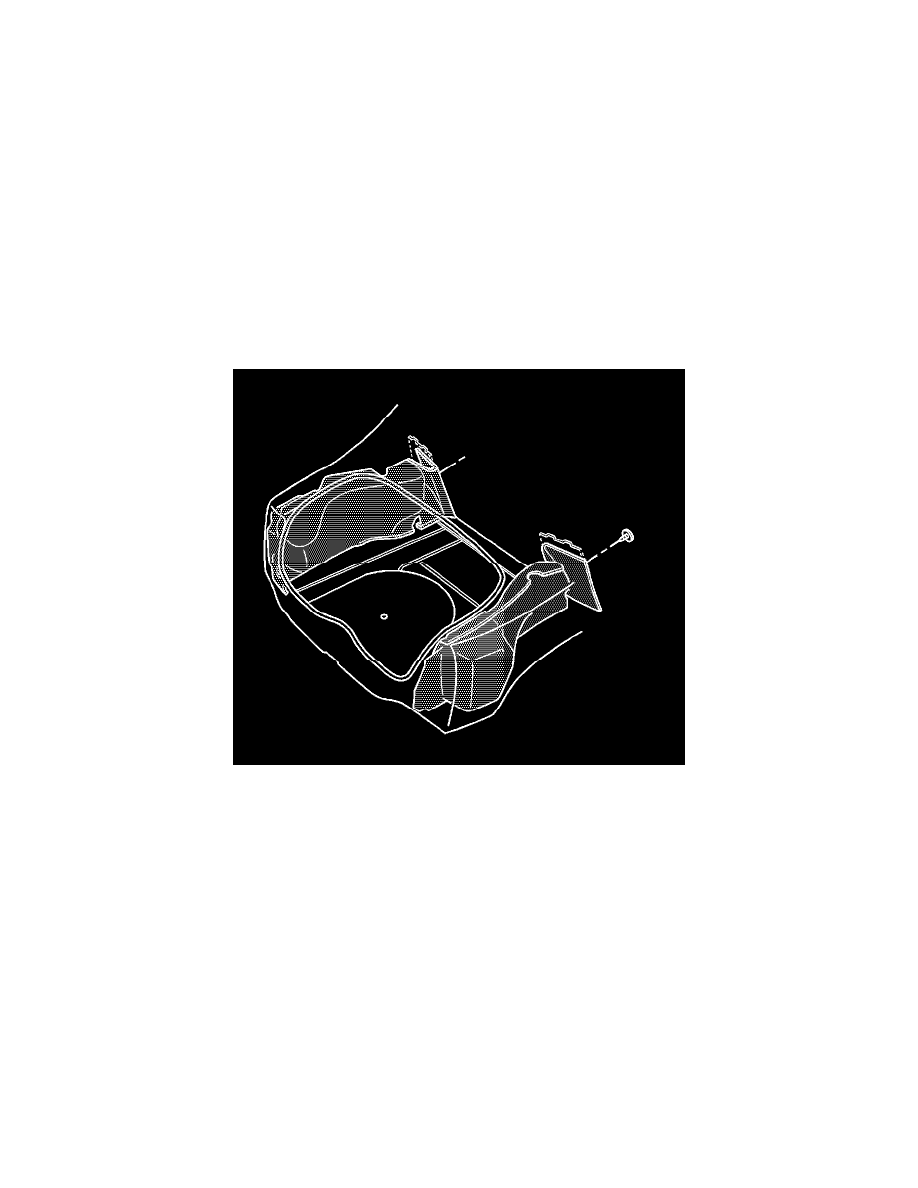
6. Use J 38778 to remove the push-in retainers from the trim panels.
7. Slide the panels off the metal supports.
8. Remove the trim panels from the rear compartment.
Installation Procedure
1. Position the trim panels in the rear compartment.
2. Position the trim panels on the metal supports by the rear seat back.