Park Avenue V6-3.8L SC VIN 1 (2005)

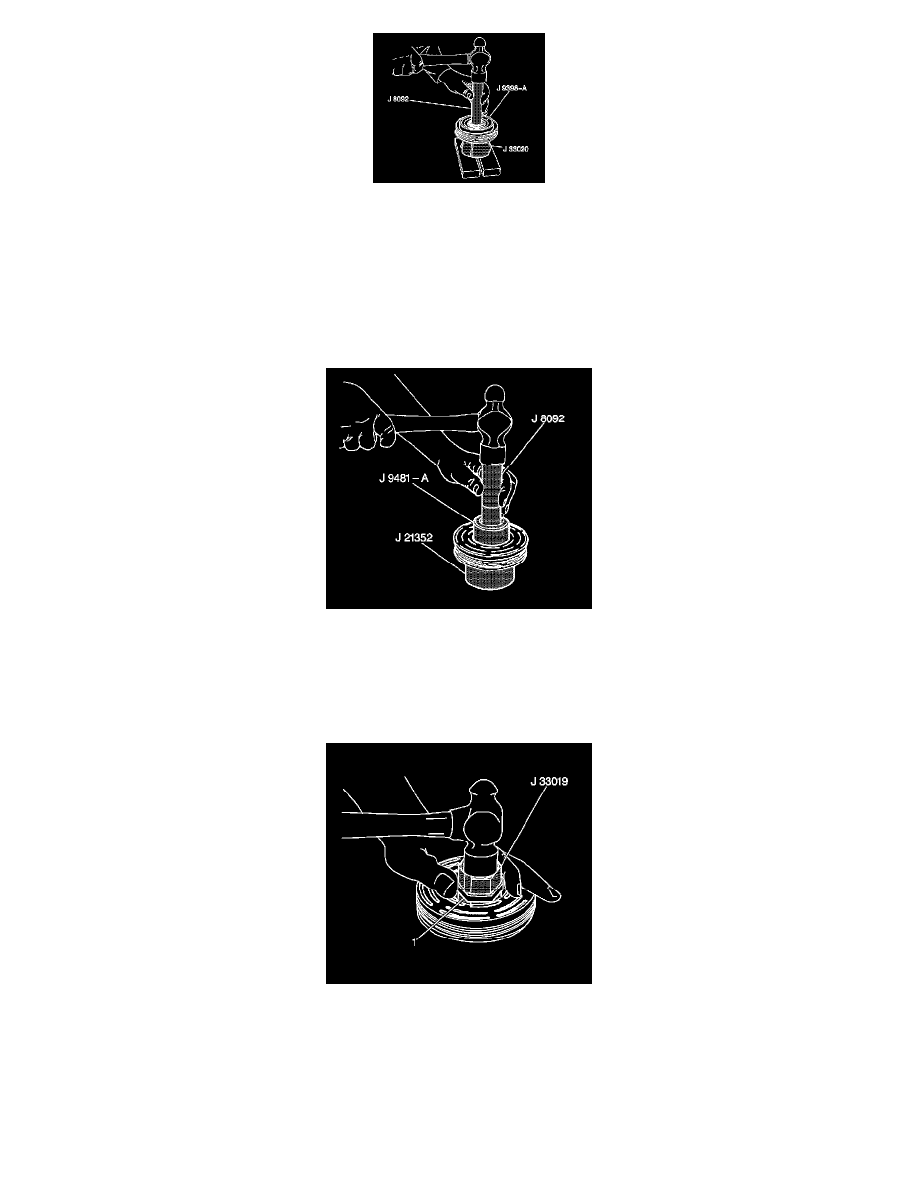
8. Support the rotor hub in order to prevent damage to the pulley rotor during bearing removal.
1. Remove the forcing screw from the J 33020.
2. With the tangs of the J 33020 still engaged in the rotor slots, invert the assembly onto a solid, flat surface or blocks.
9. Use a J 9398 with the J 8092 in order to drive the bearing out of the rotor hub.
NOTE: It is not necessary to remove the staking in front of the bearing to remove the bearing, however, it will be necessary to file away the old stake
metal for proper clearance for the new bearing to be installed into the rotor bore or the bearing may be damaged.
INSTALLATION PROCEDURE
1. Place the pulley rotor on the J 21352-A in order to fully support the rotor hub during the bearing installation.
NOTE: Do not support the rotor by resting the pulley rim on a flat surface during the bearing installation or the rotor face will be bent.
2. Align the new bearing with the hub bore.
3. Using the J 9481-A and the J 8092 , drive the bearing into the hub.The J 9481-A applies force to the outer race of the bearing.
4. Place the J 33019 and the staking pin in the hub bore.
5. Shift the rotor and bearing assembly on the J 21352-A in order to fully support the hub under the location of the staking pin.
6. Use a heavy-duty rubber band (1) in order to hold the stake pin in the guide of the J 33019.
7. Using care in order to prevent injury, strike the staking pin of the J 33019. Properly position the stake pin in the guide after each impact on the pin.
IMPORTANT: Do not allow a metal stake to contact the outer face of the bearing in order to prevent distortion of the outer race.
8. Continue to strike the pin of the J 33019 until a stake, similar to the original stake, is formed down to, but not touching, the bearing.
