
Rainier AWD L6-4.2L VIN S (2005)
4. Install the J6125-B (2) and the J29369-2 (1) onto the backside of the seal as shown.
5. Remove the seal by pulling on the J6125-B (1).
6. Place an alignment mark between the differential bearing adjuster and the differential carrier assembly case.
7. Install the J6125-B and the J29369-2 onto the backside of the bearing cage.
8. Remove the bearing by pulling on the J6125-B.
9. Remove the differential carrier assembly.
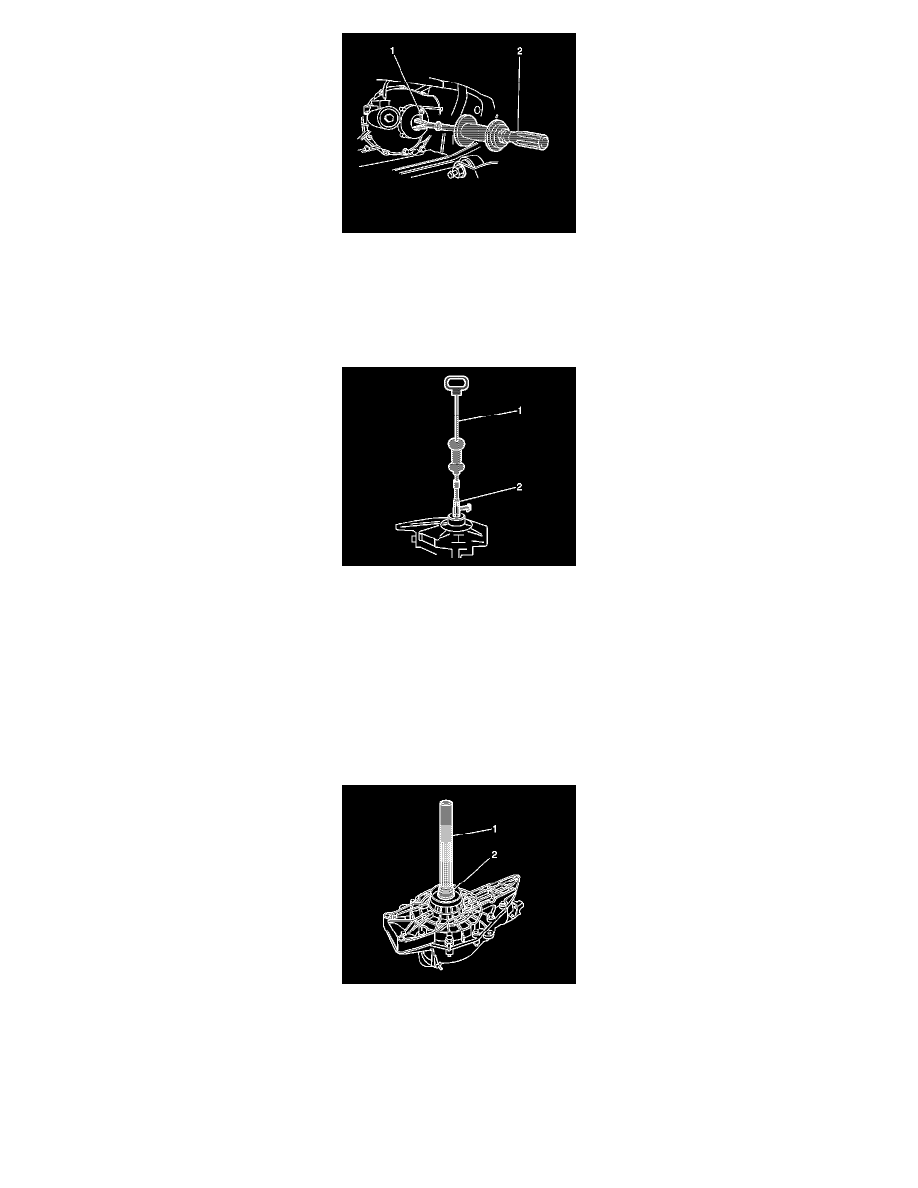
10. Install the J29369-1 (2) and the J2619-01 (1) onto the backside of the seal as shown.
11. Remove the seal by pulling on the J2619-01 (1).
12. Place an alignment mark between the differential bearing adjuster and the differential carrier assembly case.
13. Install the J6125-B and the J29369-2 onto the backside of the bearing cage.
14. Remove the bearing by pulling on the J6125-B.
Installation Procedure
Important: The seals used in the differential carrier assembly have built in tabs that are used to retain the position of the differential side bearing
adjusters. When installing the seal, it is not necessary to align the tabs to the slots on the differential side bearing adjuster. Two of the tabs on the seal
will automatically align themselves with the slots on the differential side bearing adjuster when the seal is installed.
1. Install the bearing (print side out) using the J45233 (2) and the J8092 (1).
2. Inspect the alignment between the differential bearing adjuster and the differential carrier assembly case. If the line between the differential
bearing adjuster and the differential carrier assembly case is not aligned, re-align the 2 components as necessary.